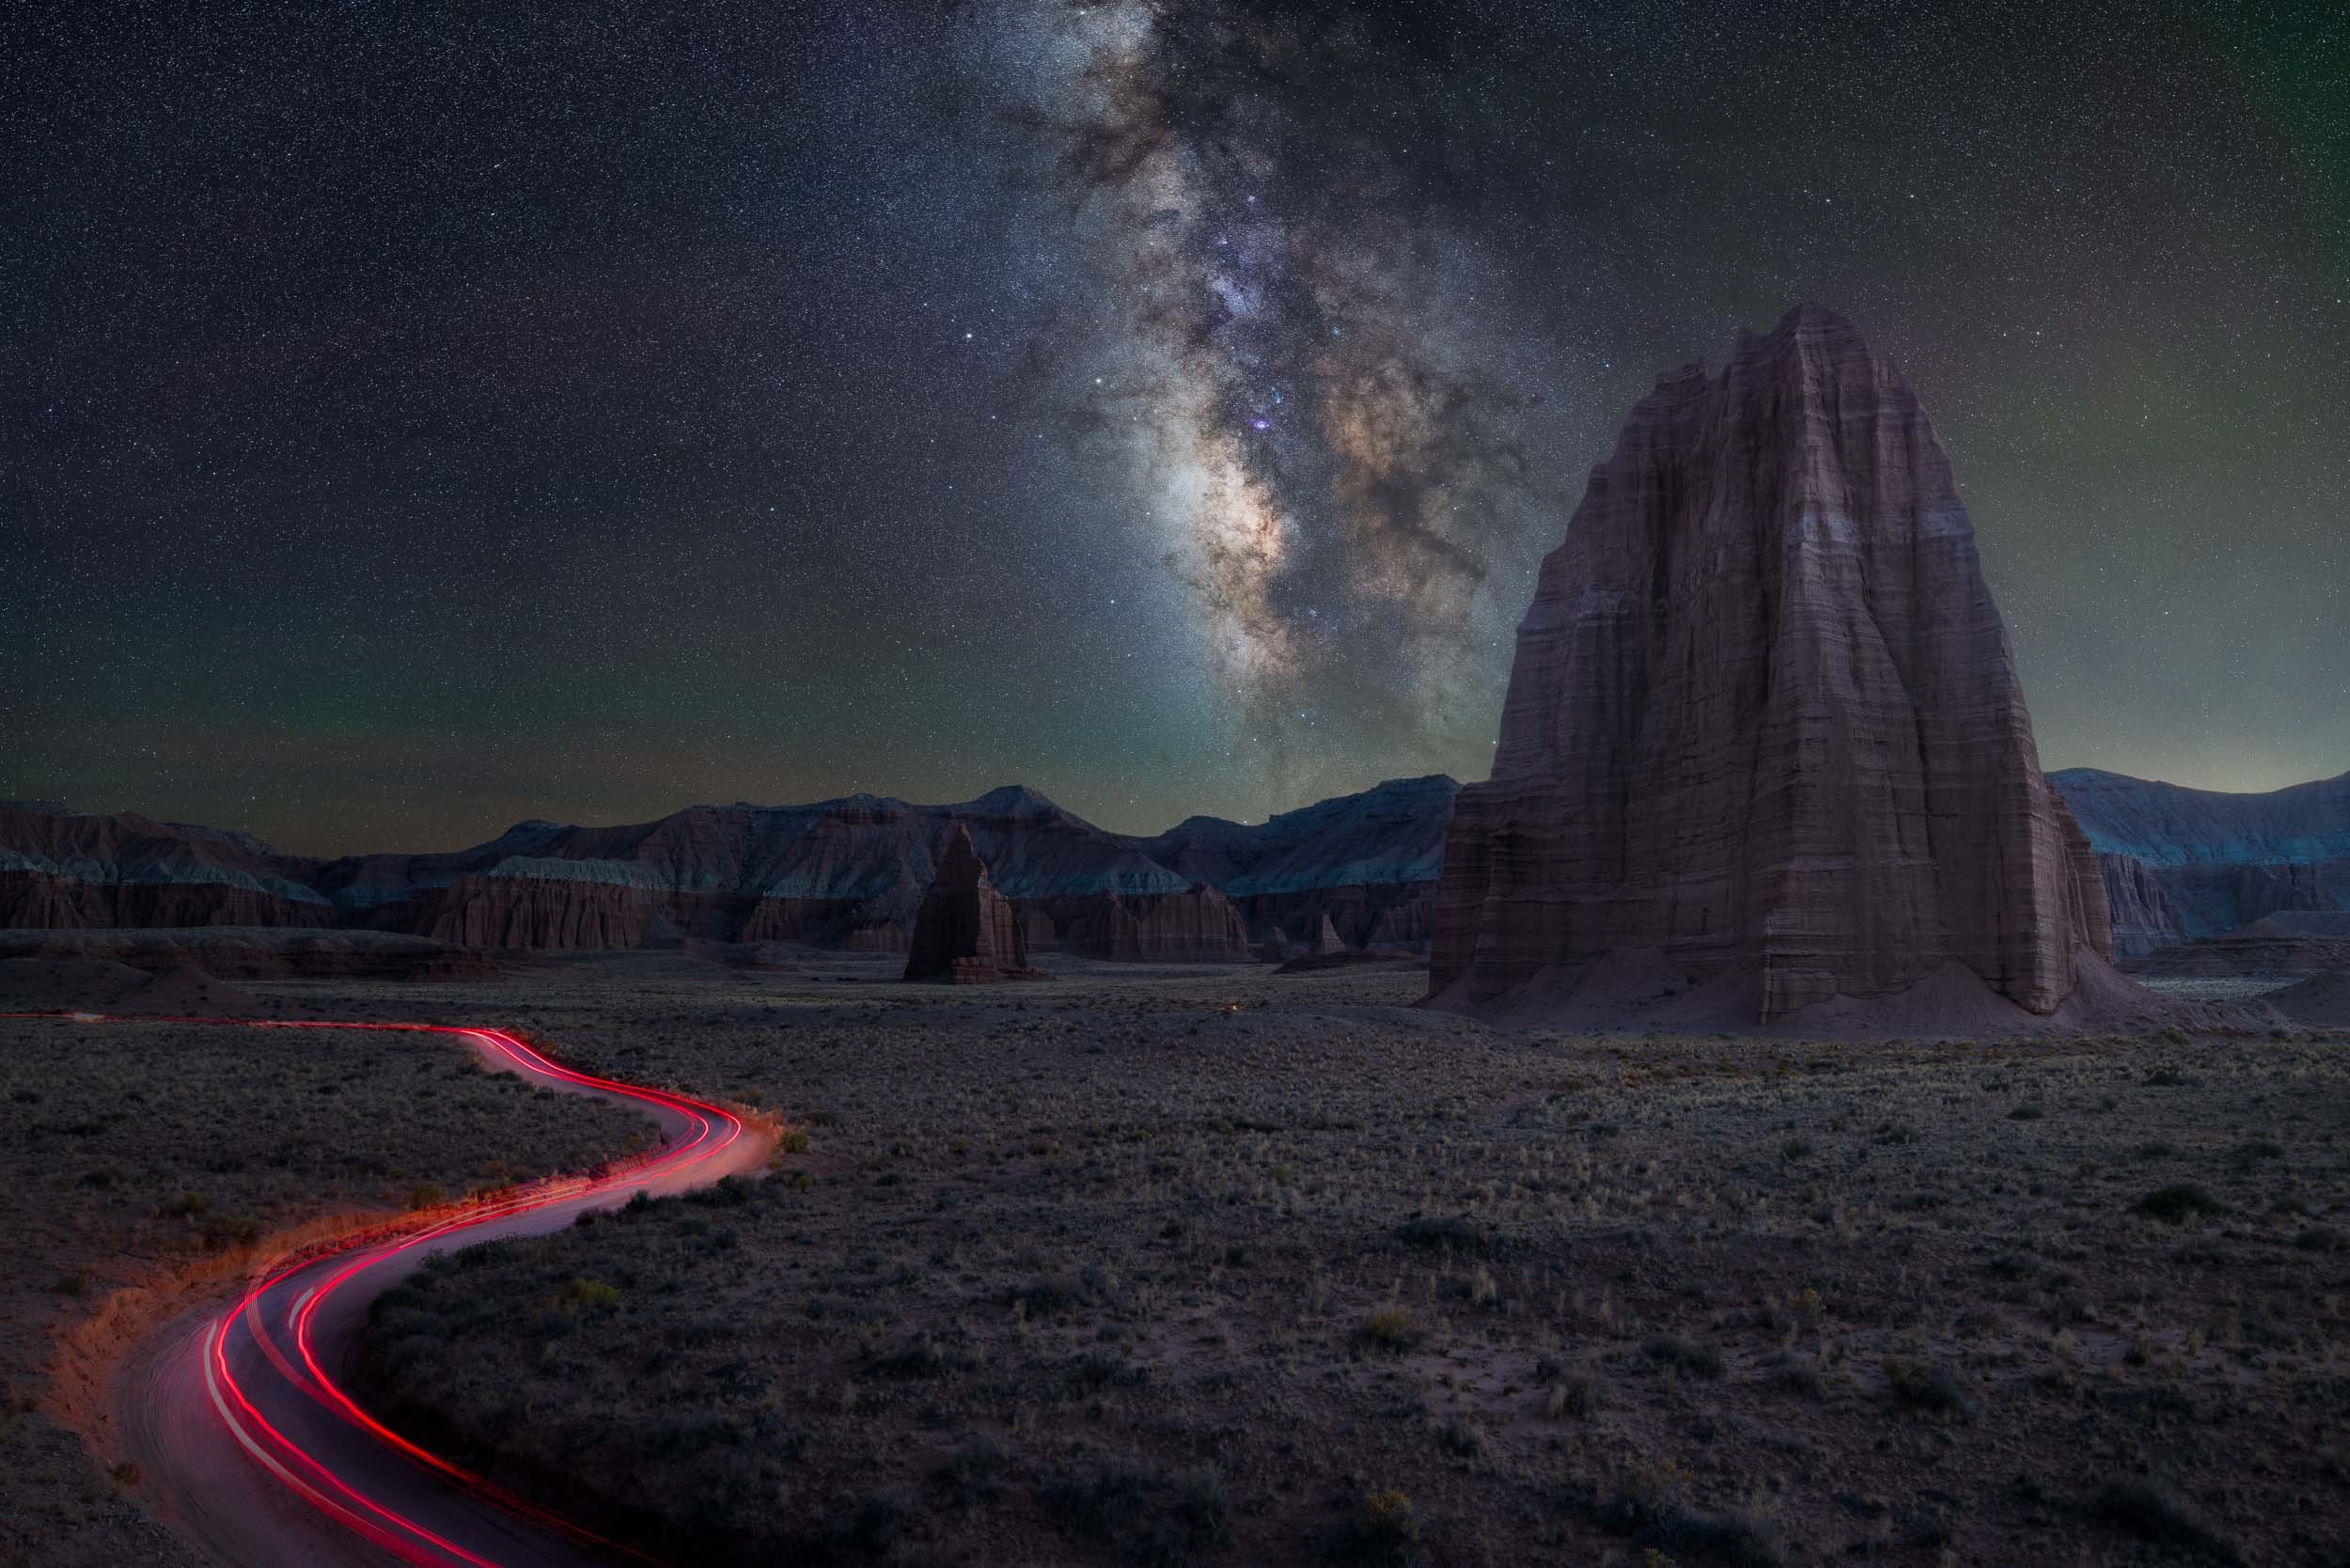
The Ultimate Guide to Focus Peaking in Astrophotography
Table of Contents
As an astrophotographer, I've learned that achieving sharp focus is the cornerstone of capturing breathtaking night sky images. In the vast darkness of space, every pinpoint of light matters, and the difference between a good shot and a great one often comes down to focus. That's where focus peaking comes in—a game-changing technology that has revolutionized how we approach focusing in low-light conditions.
In this guide, I'll share my personal journey with focus peaking and how it has transformed my astrophotography. We'll explore the ins and outs of this powerful tool, from understanding the technology to mastering advanced techniques. Whether you're shooting wide-field Milky Way landscapes or deep-sky objects, you'll learn how to leverage focus peaking to consistently produce sharp images of stars that showcase the true beauty of the cosmos.
Let's dive in!
Understanding Focus Peaking Technology
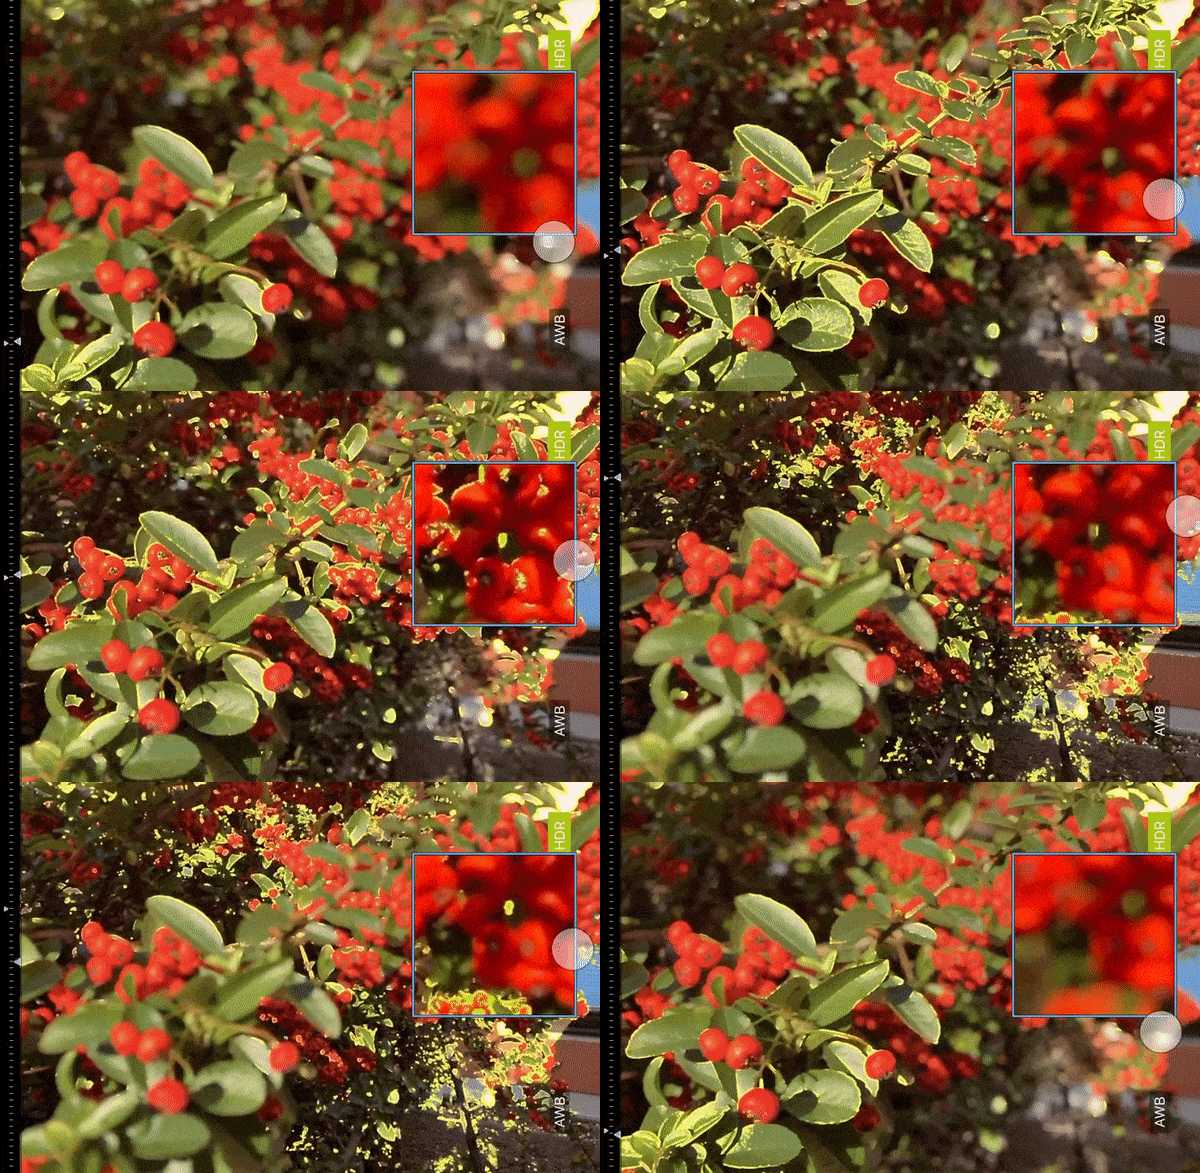
Before we go in any deeper, let’s talk a little bit about what focus peaking means. At its core, focus peaking is a digital focusing aid that highlights areas of high contrast in your image with a bright color overlay. In astrophotography, this typically means that the edges of stars will light up when they're in focus. It's like having a visual assistant that shouts, "Hey, look here! This part is sharp!"
The technology works by analyzing the image in real-time, detecting areas where there's a rapid change in contrast. In a night sky scene, stars stand out sharply against the dark background, making them ideal candidates for focus peaking to latch onto.
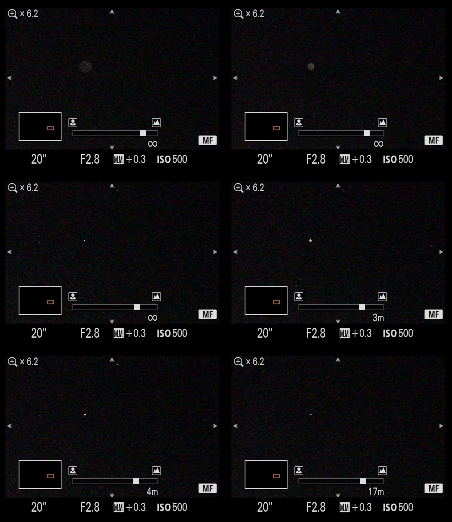
Image courtesy of /u/lcloudproductions.
For astrophotographers like us, the benefits are immense. Gone are the days of squinting through a viewfinder, trying to discern if that tiny pinpoint of light is truly sharp. Focus peaking allows for much faster and more accurate focusing, especially in low-light conditions where our eyes struggle to see clearly.
However, it's not without its limitations. In very dark conditions, some cameras might struggle to detect enough contrast for effective focus peaking. Additionally, it's important to remember that focus peaking shows areas of high contrast, not necessarily perfect focus. This means you'll still need to use your judgement and potentially other focusing techniques in conjunction with focus peaking.
I've found that focus peaking truly shines when combined with live view magnification. By zooming in on a bright star and using focus peaking, I can achieve a level of precision that was once incredibly challenging in the field.
Also read: The basics of assembling your astrophotography kit.
Focus Peaking Capabilities in Different Camera Models
In my journey through astrophotography, I've had the opportunity to work with various camera brands, each with its own unique implementation of focus peaking. Let's explore how the major players stack up:
Canon
Canon's implementation of focus peaking is solid, though it arrived later than some competitors. On models like the EOS R5 and R6, I've found the focus peaking to be responsive and customizable. You can adjust the peaking level and color, which is particularly useful for adapting to different night sky conditions. However, some older Canon DSLRs lack this feature, so it's worth checking your specific model.
Nikon
Nikon has been a bit of a mixed bag in my experience. Their higher-end mirrorless cameras, like the Z6 and Z7, offer excellent focus peaking capabilities. The ability to change peaking highlight color is particularly useful when shooting in varied environments. However, many of their DSLRs don't offer focus peaking in still-photography mode, which can be limiting for astrophotography.
Sony
Sony has been a pioneer in focus peaking technology, and it shows. Even their older models like the A7 series have robust focus peaking features. What I particularly appreciate about Sony's implementation is the ability to use focus peaking while zoomed in on live view, which is incredibly useful for fine-tuning focus on stars.
Fujifilm
Fujifilm cameras have impressed me with their focus peaking implementation. Models like the X-T4 offer highly customizable focus peaking, with options for color and intensity. The peaking seems particularly sensitive, which can be a double-edged sword – great for precision, but it might take some getting used to.
Leica
While not as common in astrophotography circles, Leica cameras offer a unique focus peaking experience. On models like the SL2, the focus peaking is precise and easy to see, even in low light conditions. However, the limited lens selection and high price point make Leica a less common choice for astrophotography.
Ultimately, while there are differences between brands, most modern mirrorless cameras offer capable focus peaking features. The key is to familiarize yourself with your camera's specific implementation and practice using it in the field. In the next section, we'll dive into how to set up your camera for optimal focus peaking in astrophotography scenarios.
Pro Tip: If you're not ready to commit to purchasing gear, consider renting. Our partners at Lensrentals.com offer a great selection of astrophotography equipment. Use code TENSIX15 for a 15% discount on your rental.
Setting Up Your Camera for Focus Peaking in Astrophotography
When I first started using focus peaking for my night sky shots, I quickly realized that proper setup is crucial for success. Here's how I optimize my camera for focus peaking in astrophotography:
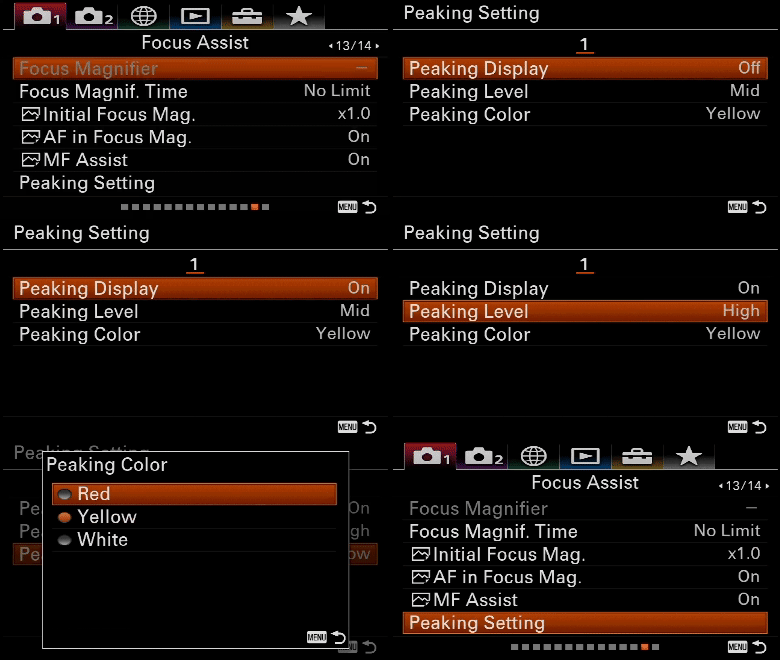
Activate Focus Peaking: This is usually found in your camera's menu under focus settings or manual focus assists. On my Sony, it's under "Peaking Display" in the focus settings.
Set Your Peaking Level: I prefer re
Choose the Right Color: I prefer red for most situations as it stands out against the night sky. However, if you're shooting in areas with light pollution that casts an orange glow, yellow or white might be more visible.
Image courtesy of Tapan Kumar Das.
Set to Manual Focus: Autofocus struggles in low light, so switch to manual focus mode.
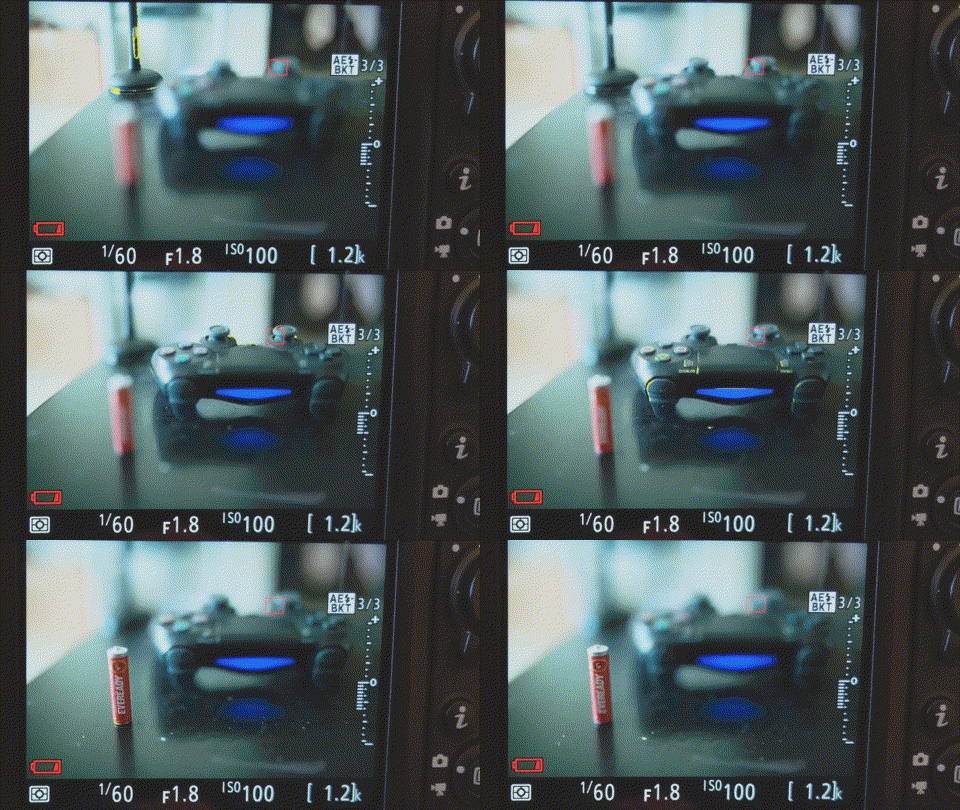
Use Live View Magnification: Zoom in on a bright object to fine-tune your focus. Most cameras allow you to use focus peaking while zoomed in.
Image courtesy of Tapan Kumar Das.
Tips
Boost ISO Temporarily: While setting up, I often increase my ISO to brighten the live view image, making it easier to see the focus peaking. Remember to lower it back down for your actual shot.
Adjust Sensitivity: Start with a medium setting. If you're having trouble seeing the peaking, increase the sensitivity. But be cautious – too high sensitivity can lead to false positives.
Open Your Aperture: Use your lens's widest aperture to let in more light, making it easier for the camera to detect contrast for focus peaking.
Image courtesy of Tapan Kumar Das.
Remember, these are starting points. As you gain experience, you'll find the perfect settings for your specific camera and shooting conditions.
Techniques for Using Focus Peaking in Star Photography
Now that we've set up our cameras, let's dive into the practical techniques I use to achieve sharp focus on stars using focus peaking.
Choose the Right Star: I always start by finding a bright star in my composition. Brighter stars create more contrast, making focus peaking more effective. If possible, I look for stars near the edge of my frame, as this is where any focus issues will be most noticeable.
Combine with Magnification: This is my secret weapon. I use focus peaking in conjunction with my camera's magnification feature. On my Sony, I'll zoom in 5x or even 10x on a bright star. This allows me to see the focus peaking with incredible precision.
Rock the Focus: I slowly rotate the focus ring back and forth, watching the focus peaking highlight appear and disappear. The point where the peaking is strongest and covers the largest area of the star is usually the sharpest focus.
Verify with Multiple Stars: After I think I've nailed the focus, I'll check a few other stars in different parts of the frame. This helps ensure consistent sharpness across the entire image.
Take Test Shots: Even with focus peaking, I always take a few test shots and review them at 100% magnification. This final check has saved many of my shooting sessions from slight focus errors.
Use the 'Focus Bracketing' Technique: If I'm shooting in challenging conditions, I'll sometimes take a series of shots with slightly different focus points. This 'focus bracketing' technique gives me options to choose from later.
Don't get discouraged if your first attempts aren't perfect – I certainly had my share of blurry stars when I started!
Also read: Learning how to locate and capture the Milky Way.
Focus Peaking with Other Astrophotography Equipment
As our astrophotography ambitions grow, so does our equipment arsenal. Integrating focus peaking with specialized gear has been a game-changer in my deep-sky imaging. Here's how I use it with common astrophotography tools:
Telescopes
When using my telescope for deep-sky objects, I connect my camera to a laptop running capture software like SharpCap or Astro Photography Tool. These programs often have their own focus assist tools, but I still find camera-based focus peaking invaluable. I use it in conjunction with a Bahtinov mask for ultra-precise focusing on stars.
Star Trackers
Star trackers allow for longer exposures without star trailing. I've found that focus peaking becomes even more critical here. The longer exposures amplify any focus imperfections, so I take extra time to ensure my focus peaking is spot-on before starting a long imaging session.
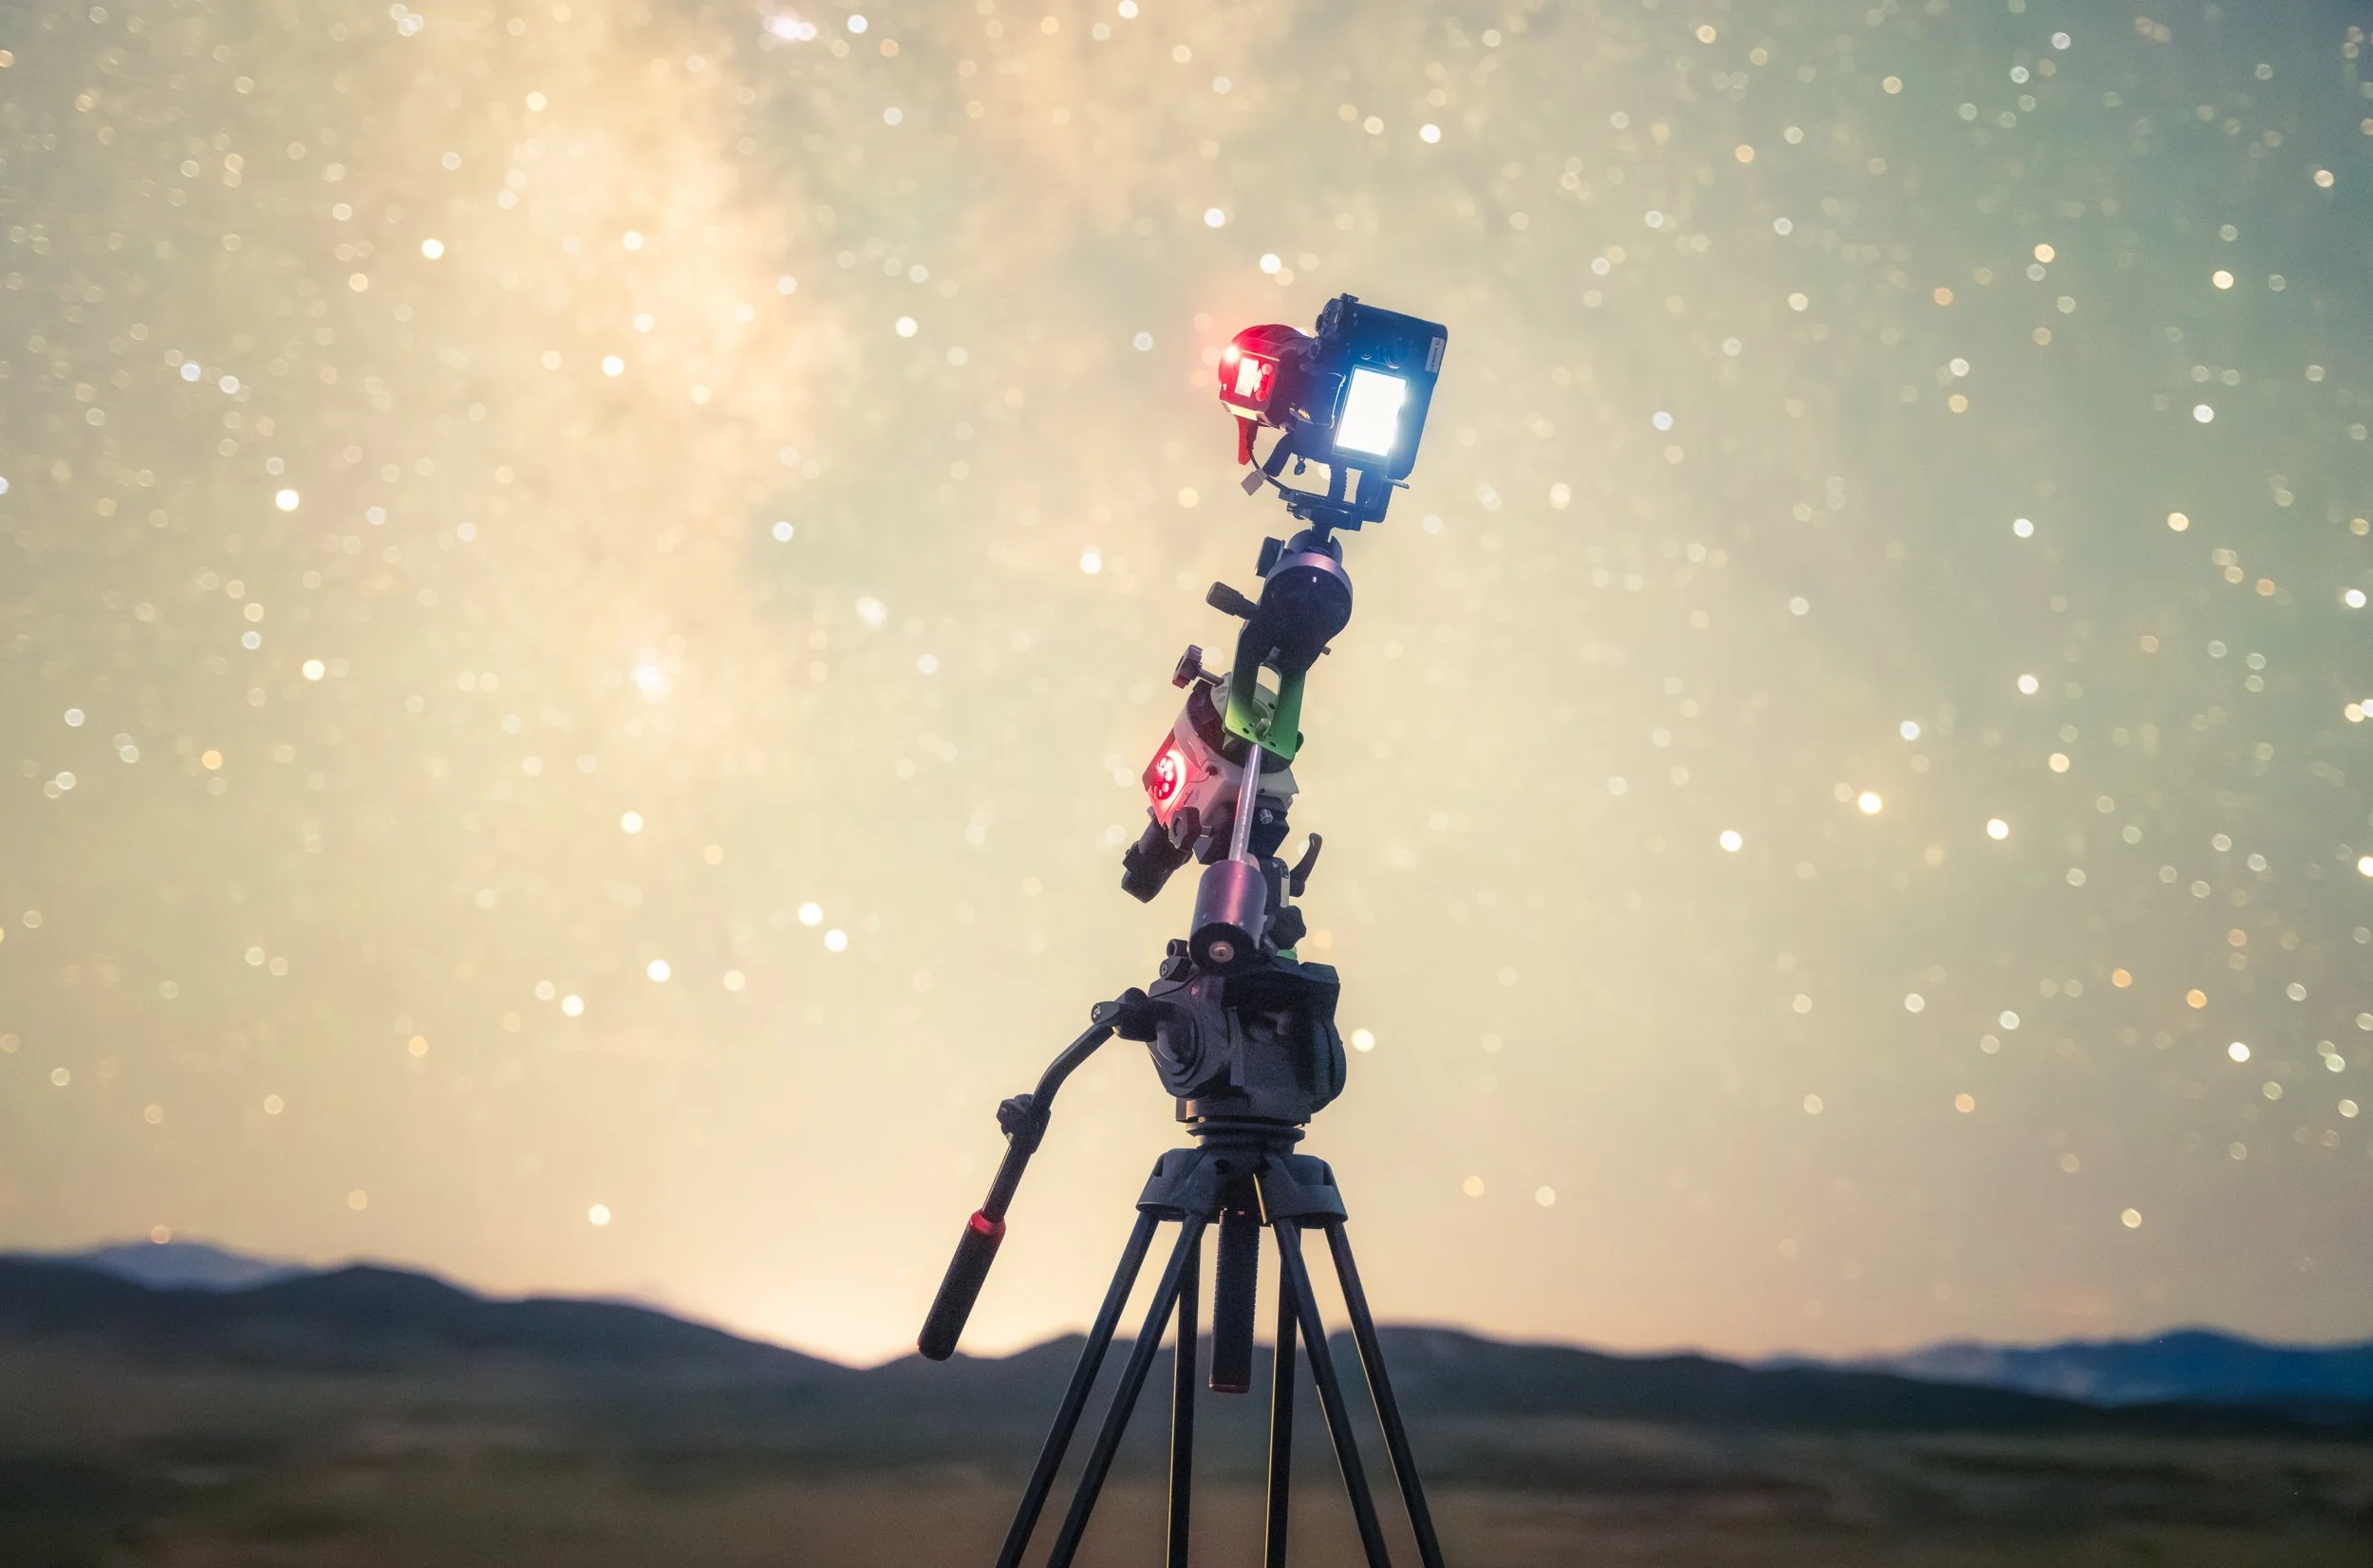
Image courtesy of AstroPix.
Off-Axis Guiders
When using an off-axis guider for precise tracking, focus peaking helps me quickly achieve sharp focus on both the main imaging camera and the guide camera. This dual focus is crucial for long-exposure deep-sky imaging.
Electronic Focusers
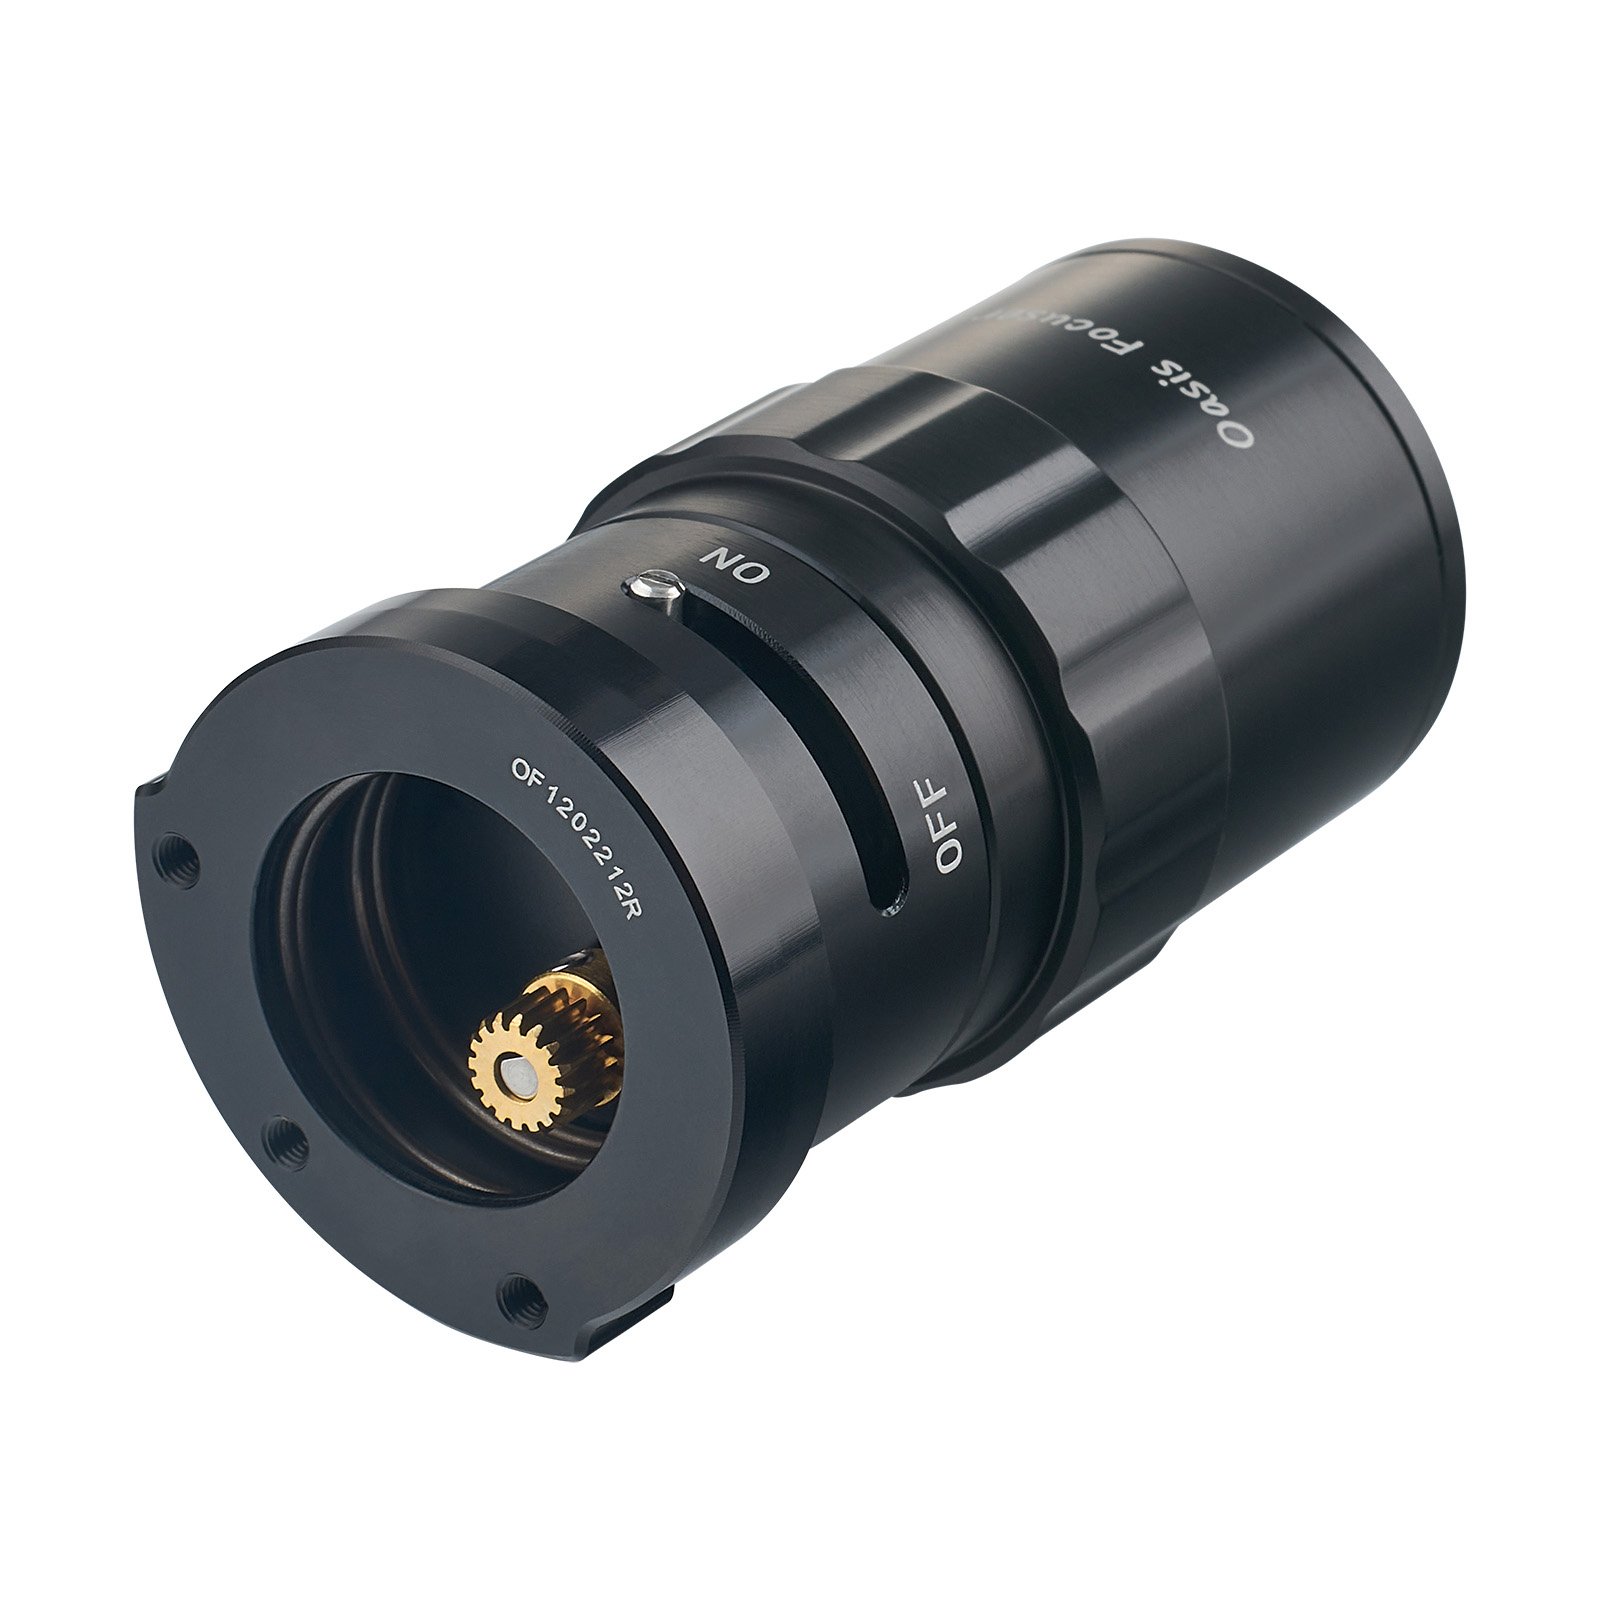
Motorized focusers pair wonderfully with focus peaking. I can make minute focus adjustments while watching the focus peaking in real-time, achieving a level of precision that's nearly impossible with manual focusing alone.
Remember, while these tools enhance our focusing capabilities, they also introduce additional complexity. Practice with your setup in daylight to familiarize yourself with how focus peaking interacts with your specific equipment configuration.
Advanced Focusing Techniques in Astrophotography
As you become more comfortable with focus peaking, it's time to explore some advanced techniques that can elevate your astrophotography to new heights. One of the most powerful methods I've incorporated into my workflow is focus stacking.
Focus stacking involves taking multiple images at slightly different focus points and then combining them in post-processing to achieve a final image with enhanced overall sharpness. Here's how I approach focus stacking for astrophotography:
Set Up Your Shot: Compose your image and use focus peaking to achieve sharp focus on the stars as we've discussed earlier.
Take Your First Shot: This will be your base image with the stars in focus.
Adjust Focus for Foreground: Slightly adjust your focus towards the foreground. Use focus peaking to ensure you're capturing sharp details in your landscape elements.
Take Multiple Shots: Continue taking shots, gradually shifting focus from the stars to the foreground. I typically take 3-5 images, depending on the complexity of the scene.
Process and Stack: In post-processing, I use software like Photoshop or a dedicated focus stacking program like Helicon Focus to blend these images together.
Focus stacking is particularly useful for wide-field shots where you want both sharp stars and a detailed foreground.
For focus stacking software, I recommend:
Adobe Photoshop: Great if you're already familiar with it, offers manual control over the stacking process.
Helicon Focus: Dedicated focus stacking software, very efficient for astrophotography.
Starry Landscape Stacker: Specifically designed for night sky photography, it handles both focus and exposure stacking.
Remember, focus stacking requires a static scene and can be challenging if there's wind moving elements in your foreground. It also requires more time in the field and in post-processing, but the results can be stunning.
As with all advanced techniques, practice is key. I suggest starting with simple compositions and gradually working up to more complex scenes as you become comfortable with the process.
In the next section, we'll discuss how to maintain focus during long exposures, another crucial skill for capturing those epic deep-sky images.
Also read: Diving deeper into advanced techniques for sharper images.
Maintaining Focus During Long Exposures
One of the biggest challenges I've encountered in astrophotography is maintaining sharp focus throughout long exposures. Even with perfect initial focus, several factors can cause focus drift over time. Here's how I combat this issue:
Temperature Changes: As the night progresses, temperature drops can cause slight contractions in your lens elements, shifting the focus. To mitigate this, I use an electric lens heater band. These keep the lens at a constant temperature, preventing focus drift.
Mechanical Stability: Any slight movement of your camera or lens can affect focus. I always ensure my tripod is on stable ground and use a remote shutter release to avoid camera shake. For extra stability, I sometimes hang a weight from the center column of my tripod.
Periodic Focus Checks: During long imaging sessions, I make it a habit to check focus every 30-60 minutes. I use focus peaking in live view, zooming in on a bright star to verify sharpness. If I notice any drift, I make minor adjustments.
Auto-Focus Systems: Some modern astrophotography-oriented cameras have auto-focus systems that can maintain focus on stars. While I prefer manual control, these can be useful tools, especially for all-night imaging sessions.
Focus Locking Mechanisms: Many lenses have focus lock switches. Once I've achieved perfect focus, I engage this lock to prevent any accidental movements of the focus ring.
Remember, maintaining focus is just as important as achieving it initially. By implementing these techniques, you'll ensure your entire imaging session results in tack-sharp stars from start to finish.
In the next section, we'll troubleshoot some common focusing issues that even experienced astrophotographers encounter.
Also read: How to plan your astrophotography shoots like a pro.
Troubleshooting Guide for Common Focusing Issues
Even with the best techniques and equipment, focusing challenges can arise. Here are some common issues I've encountered and how I've overcome them:
Atmospheric Turbulence
On nights with poor "seeing," stars can appear to dance and shimmer, making focus peaking less reliable. In these conditions, I've found success by:
Using longer focal lengths to magnify the effect and make it easier to find the average point of best focus
Taking multiple short exposures and stacking them in post-processing to average out the turbulence
Autofocus Failures
Sometimes, especially in very dark conditions, autofocus systems can struggle. When this happens, I:
Switch to manual focus and use focus peaking
Find a bright star or planet to focus on, then recompose my shot
Use a focusing aid like a Bahtinov mask for precise manual focusing
Focus Shift During Temperature Changes
As the night progresses and temperatures drop, your focus point might shift. To combat this:
I periodically check and adjust focus throughout the night
Use a lens heater to maintain a constant temperature
For critical shots, I sometimes use an automated focusing system that can make micro-adjustments
Difficulty Seeing Focus Peaking in Live View
In extremely dark conditions, it can be hard to see focus peaking highlights. In these cases:
I temporarily increase the ISO to brighten the live view image
Use the camera's maximum aperture while focusing, even if I plan to stop down for the actual shot
Employ a red headlamp to illuminate nearby objects and give the camera more contrast to work with
In the next section, we'll explore how to adapt focus peaking techniques for other types of night sky photography beyond traditional star shots.
Focus Peaking for Other Types of Night Sky Photography
While we've primarily discussed using focus peaking for star photography, I've found it incredibly versatile for other night sky subjects as well. Let's explore how I apply this technique to different celestial targets:
Lunar Photography
When shooting the moon, focus peaking is a game-changer. The moon's cratered surface provides high-contrast edges that focus peaking latches onto beautifully. I typically zoom in on a crater near the terminator (the line between light and dark) where shadows create maximum contrast.
Planetary Imaging
Planets like Jupiter and Saturn are challenging to focus on due to their small apparent size. I use a combination of focus peaking and maximum magnification in live view. The bands of Jupiter or the rings of Saturn provide enough contrast for effective peaking.
Deep-Sky Objects
For larger DSOs like the Orion Nebula or Andromeda Galaxy, I use focus peaking on bright stars within or near the object. For dimmer objects, I'll often focus on a nearby bright star, then slowly pan to my target.
Aurora Photography
While auroras are dynamic, focus peaking can still be useful. I typically focus on distant lights or landscape elements, then use a mid-range aperture to ensure both the foreground and the aurora are reasonably sharp.
Remember, these techniques might require some experimentation. Atmospheric conditions and equipment limitations can affect results, so practice and patience are key.
Post-Processing Considerations for Tack-Sharp Images
While achieving perfect focus in-camera is crucial, post-processing can help refine and enhance the sharpness of your astrophotography. Here are some techniques I've found effective:
Careful Sharpening
I apply sharpening judiciously, using tools like Photoshop's Unsharp Mask or Smart Sharpen. For star images, I typically use a small radius (0.3-0.8 pixels) and a moderate amount (50-100%). It's important to zoom in to 100% view to avoid oversharpening, which can create halos around stars.
Noise Reduction
Noise can mask fine details, making stars appear less sharp. I use noise reduction tools that preserve edge details, like Topaz DeNoise AI or the noise reduction features in Adobe Camera Raw. The key is to find a balance between noise reduction and detail preservation.
Star Reduction
Sometimes, slightly reducing the size of stars can make an image appear sharper overall. I use plugins like Starnet++ or Astronomy Tools actions in Photoshop to selectively reduce star sizes without affecting other image elements.
Local Contrast Enhancement
Techniques like local contrast enhancement can make stars pop without affecting the entire image. I often use the Clarity slider in Lightroom or the Local Contrast filter in Photoshop for this purpose.
Selective Sharpening
For images with both stars and landscape elements, I use layer masking in Photoshop to apply different sharpening techniques to different parts of the image. This allows me to optimally sharpen both celestial and terrestrial elements.
Remember, the goal is to enhance, not fabricate. Subtle adjustments often yield the most natural-looking results. Always work on a copy of your original file and use non-destructive editing techniques when possible.
Also read: The fundamentals of editing your night sky images.
Advancing Your Skills: Workshops and Further Learning
As passionate as I am about astrophotography, I'm even more excited about sharing this knowledge with others. That's why I offer hands-on workshops focused on mastering focus peaking and other essential astrophotography techniques.
Join me in Utah in 2025, for an immersive sky watching experience. We'll spend nights under the dark skies of the American Southwest, practicing focus peaking techniques on stunning Milky Way compositions.
These workshops are designed for photographers of all levels, from beginners looking to capture their first star-filled sky to experienced shooters aiming to refine their techniques.
Remember, the journey of astrophotography is one of continuous learning and improvement. Whether through workshops, online resources, or simply spending more time under the stars, keep pushing your boundaries and exploring new techniques.
FAQ
Q: How does focus peaking perform in extremely low light conditions, such as when photographing faint deep-sky objects?
A: Focus peaking can struggle in extremely low light conditions. For faint deep-sky objects, it's often more effective to focus on a nearby bright star first, then carefully move to your target without changing focus. Some astrophotographers use an artificial star (a small LED at a distance) for initial focusing before moving to their celestial target.
Q: Can focus peaking be used effectively with fast, wide-angle lenses that are popular for Milky Way photography?
A: Yes, but it requires care. With very wide, fast lenses (like f/1.4 or f/1.8), the depth of field is extremely shallow. In these cases, use focus peaking in conjunction with live view magnification, zooming in to 100% on a bright star. Be aware that coma and astigmatism at the edges of the frame might affect your perception of focus, so check multiple areas of the frame.
Q: How does using a light pollution filter affect focus peaking, and how can I compensate?
A: Light pollution filters can reduce contrast, potentially making focus peaking less effective. To compensate, temporarily increase ISO and exposure time while focusing to boost the live view image's brightness. Some astrophotographers focus without the filter, then carefully attach it without disturbing focus. Always refocus after adding or removing filters.
Q: What's the best approach for using focus peaking with a Bahtinov mask?
A: When using a Bahtinov mask, focus peaking can help you quickly identify the central spike. Start with a bright star and use live view magnification along with focus peaking. The point where the central spike shows the strongest peaking effect is your point of critical focus. Remember to remove the mask before starting your actual imaging session.
Q: How can I maintain accurate focus throughout a long imaging session where temperatures may drop significantly?
A: Temperature drops can cause focus shift as the night progresses. Use a combination of strategies: employ a lens/telescope heater to maintain constant temperature, periodically check and adjust focus using peaking, and consider an automated focusing system for critical long-exposure sessions. Some advanced setups use temperature-compensating focusers that automatically adjust as the temperature changes.
Q: Is it possible to use focus peaking effectively for planetary imaging, given the small apparent size of planets?
A: Yes, but it requires some finesse. Use maximum magnification in live view along with focus peaking. Focus on high-contrast features like Jupiter's bands or Saturn's rings. For smaller planets, you might need to use a Barlow lens to increase magnification. Some planetary imagers use software like FireCapture which offers advanced focusing aids in addition to the camera's built-in focus peaking.
Remember, while these advanced techniques can significantly improve your focusing accuracy, they often require practice and experimentation to master in the field.

