Conquering Light Pollution: Urban Astrophotography Techniques
Table of Contents
1. UNDERSTANDING LIGHT POLLUTIONTypes, impact, and the Bortle Scale |
2. PLANNING YOUR SHOOTLocation scouting, timing, and setup |
3. LIGHT POLLUTION FILTERSTypes and uses of filters |
4. SHOOTING TECHNIQUESCamera settings and methods |
5. POST-PROCESSINGRemoving light pollution effects |
6. ADDITIONAL RESOURCESWebsites, apps, and bonus content |
7. FAQCommon questions and answers |
Many of my readers have often asked me how they can capture the night sky from the comfort of their homes. The only challenge is that they live in smog-filled cities, where the night sky is often an opaque, gray ceiling above their collective heads, without a single visible star to photograph. Chances are, you, dear reader, know exactly what I’m talking about. Well, there is some good news for you, and everyone else. With the right techniques and tools, we can push past these annoying barriers and create some stunning images of the cosmos.
In this guide, we'll explore the nature of light pollution, learn how to plan our shoots effectively, and discover the essential gear that can make all the difference. Whether you're shooting from a city balcony or a suburban backyard, you'll find practical tips to improve your night sky photography.
Let’s get started!
Understanding Light Pollution
Before we can combat light pollution in our photography, we need to understand what we're up against.
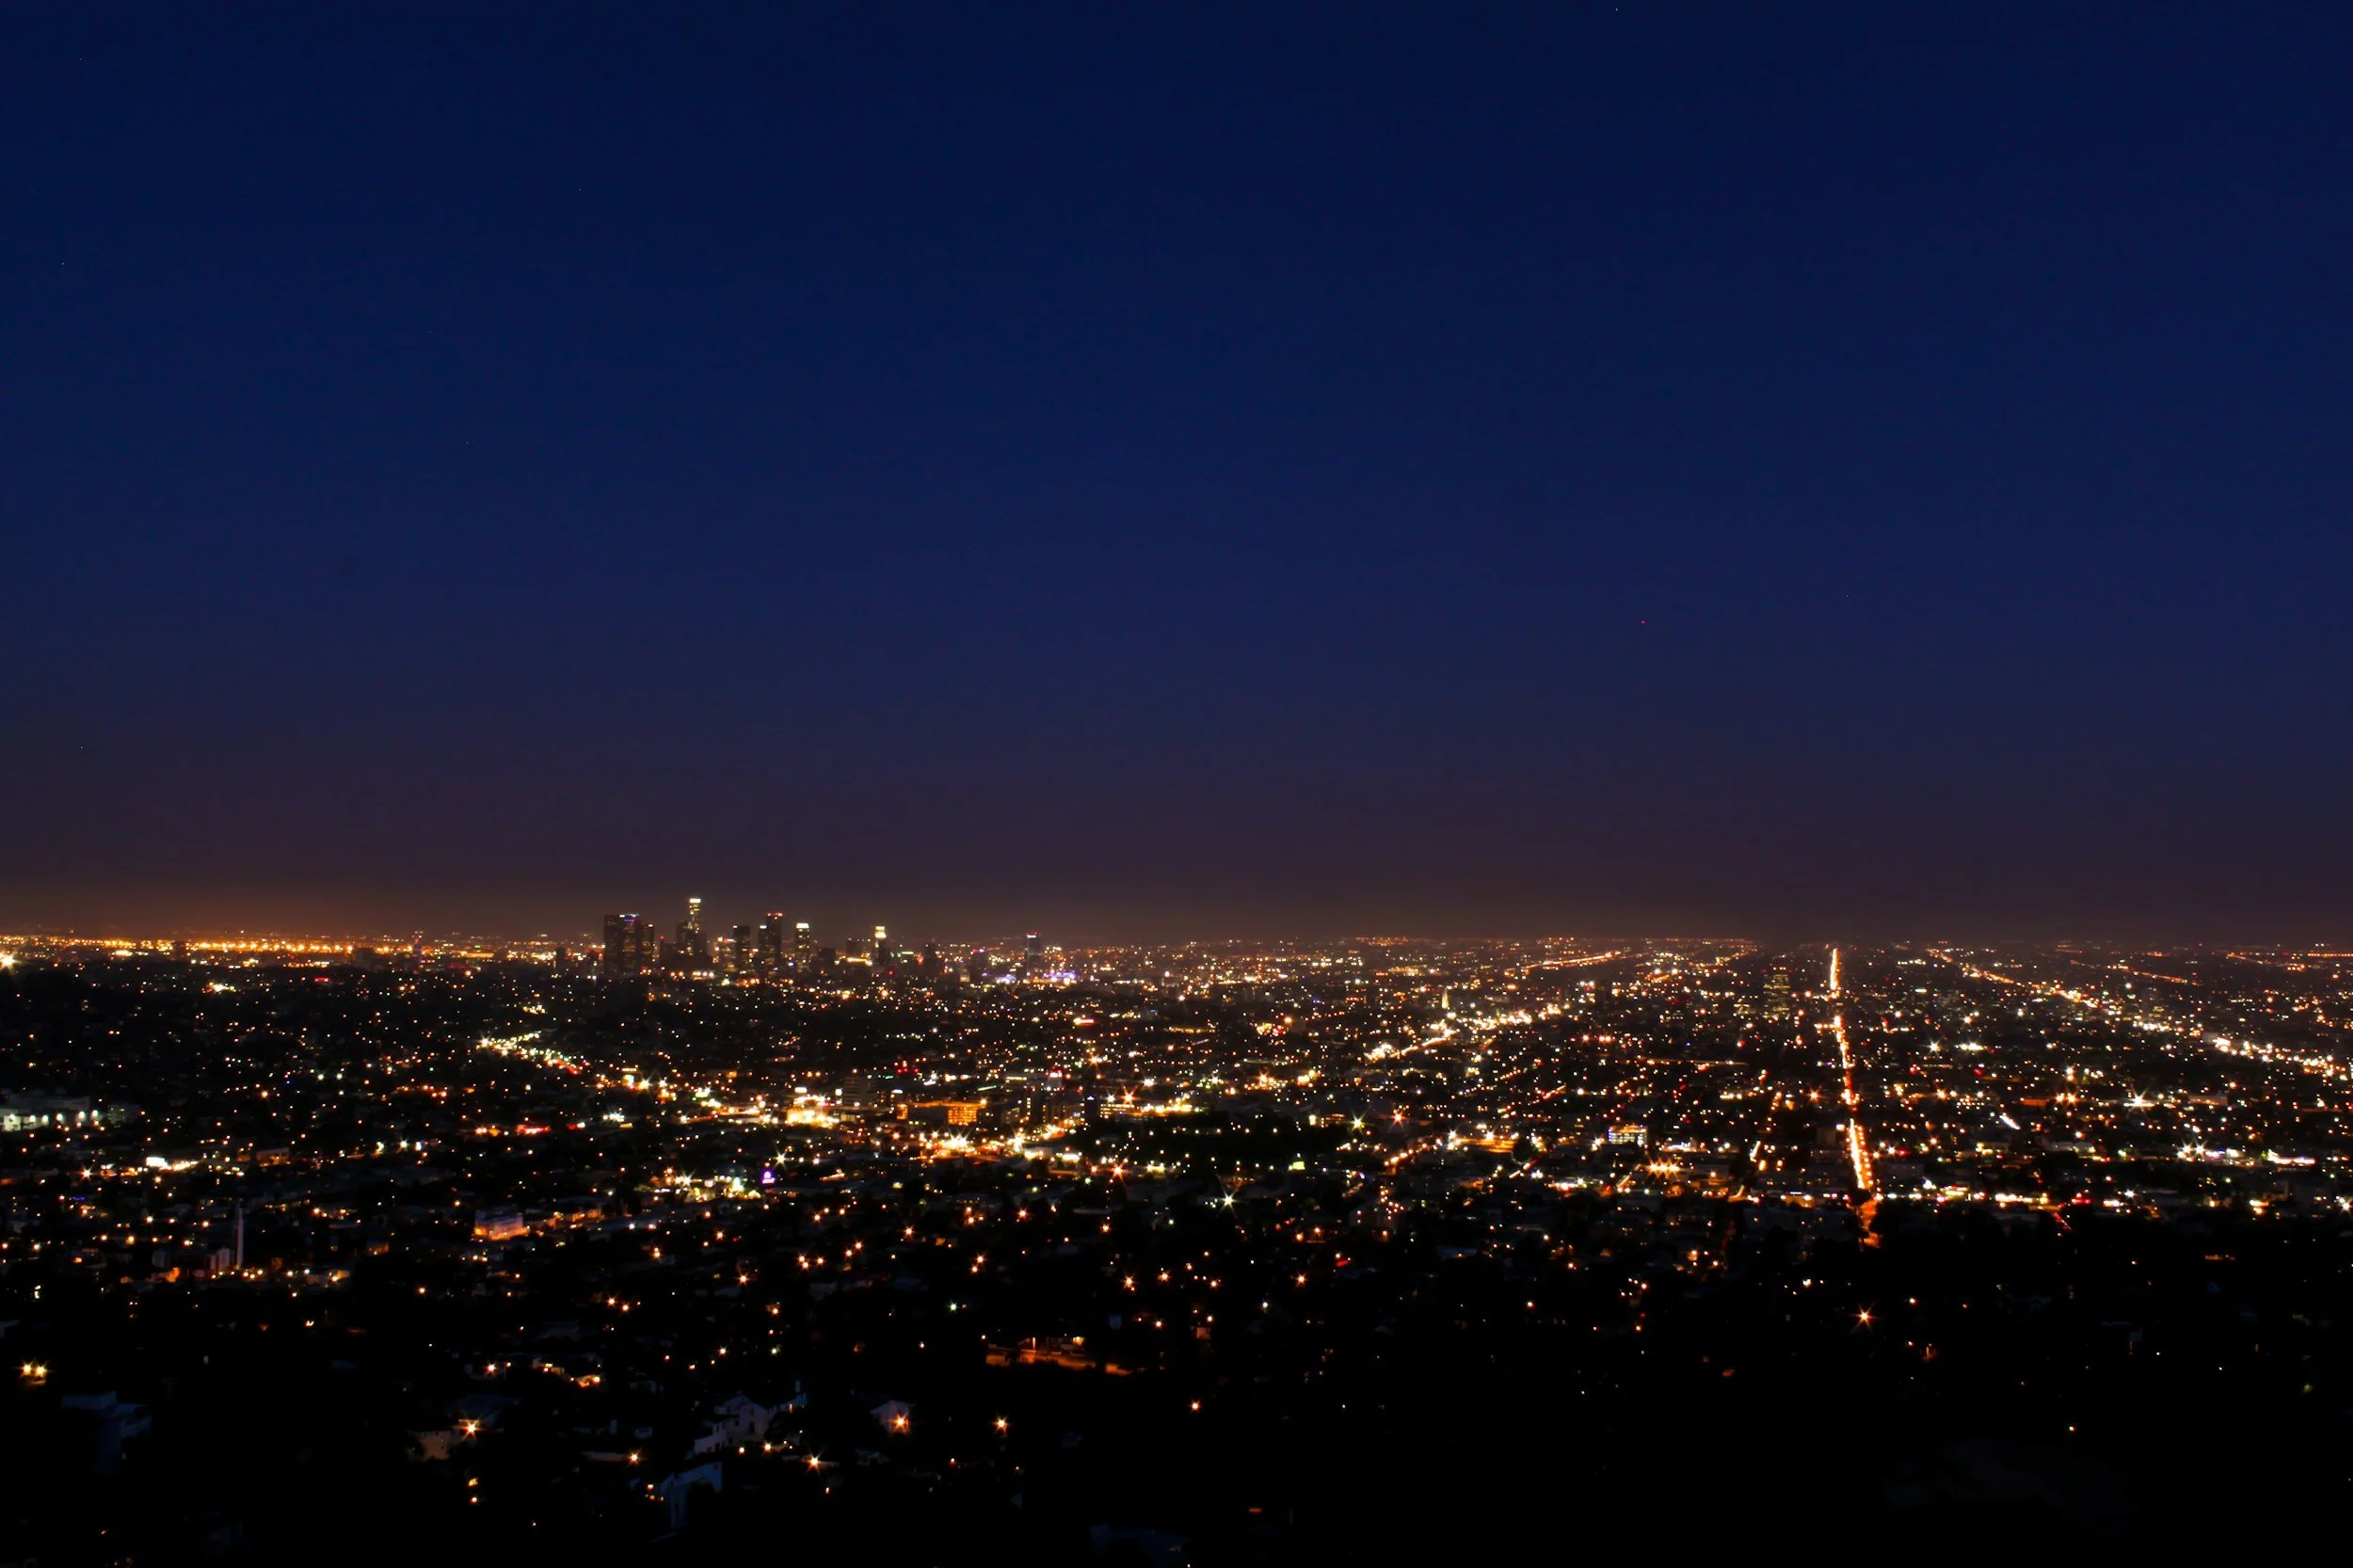
Light pollution is the excessive or misdirected artificial light produced by urban areas, which obscures the visibility of celestial objects. It's not just a nuisance for stargazers and astrophotographers; it also affects wildlife, disrupts ecosystems, and wastes energy.
Light pollution comes in several flavors, each presenting unique challenges for our photography:
Skyglow: This is the brightening of the night sky over populated areas. It's the reason why we see fewer stars in cities compared to rural areas.
Glare: The excessive brightness that causes visual discomfort. Think of those overly bright streetlights that make you squint.
Light trespass: This is unwanted light that spills into areas where it's not needed or wanted, like a neighbor's floodlight shining into your backyard observatory.
Clutter: The bright, confusing, and excessive groupings of lights often found in urban areas.
To quantify the severity of light pollution, astronomers use the Bortle Scale. This nine-level numeric scale measures the night sky's brightness of a particular location.
Most urban areas fall into the higher end of this scale, typically between Bortle 7-9. In these conditions, even the brightest stars can be difficult to see, let alone photograph.
Understanding these aspects of light pollution helps us appreciate why urban astrophotography is challenging. But don't be discouraged! With this knowledge, we can start to develop strategies to work around these obstacles and capture the cosmic wonders hiding above our city lights.
Planning Your Urban Astrophotography Shoot
Success in urban astrophotography often comes down to careful planning. While we can't eliminate light pollution entirely, we can certainly minimize its impact with some strategic thinking.
Location Scouting
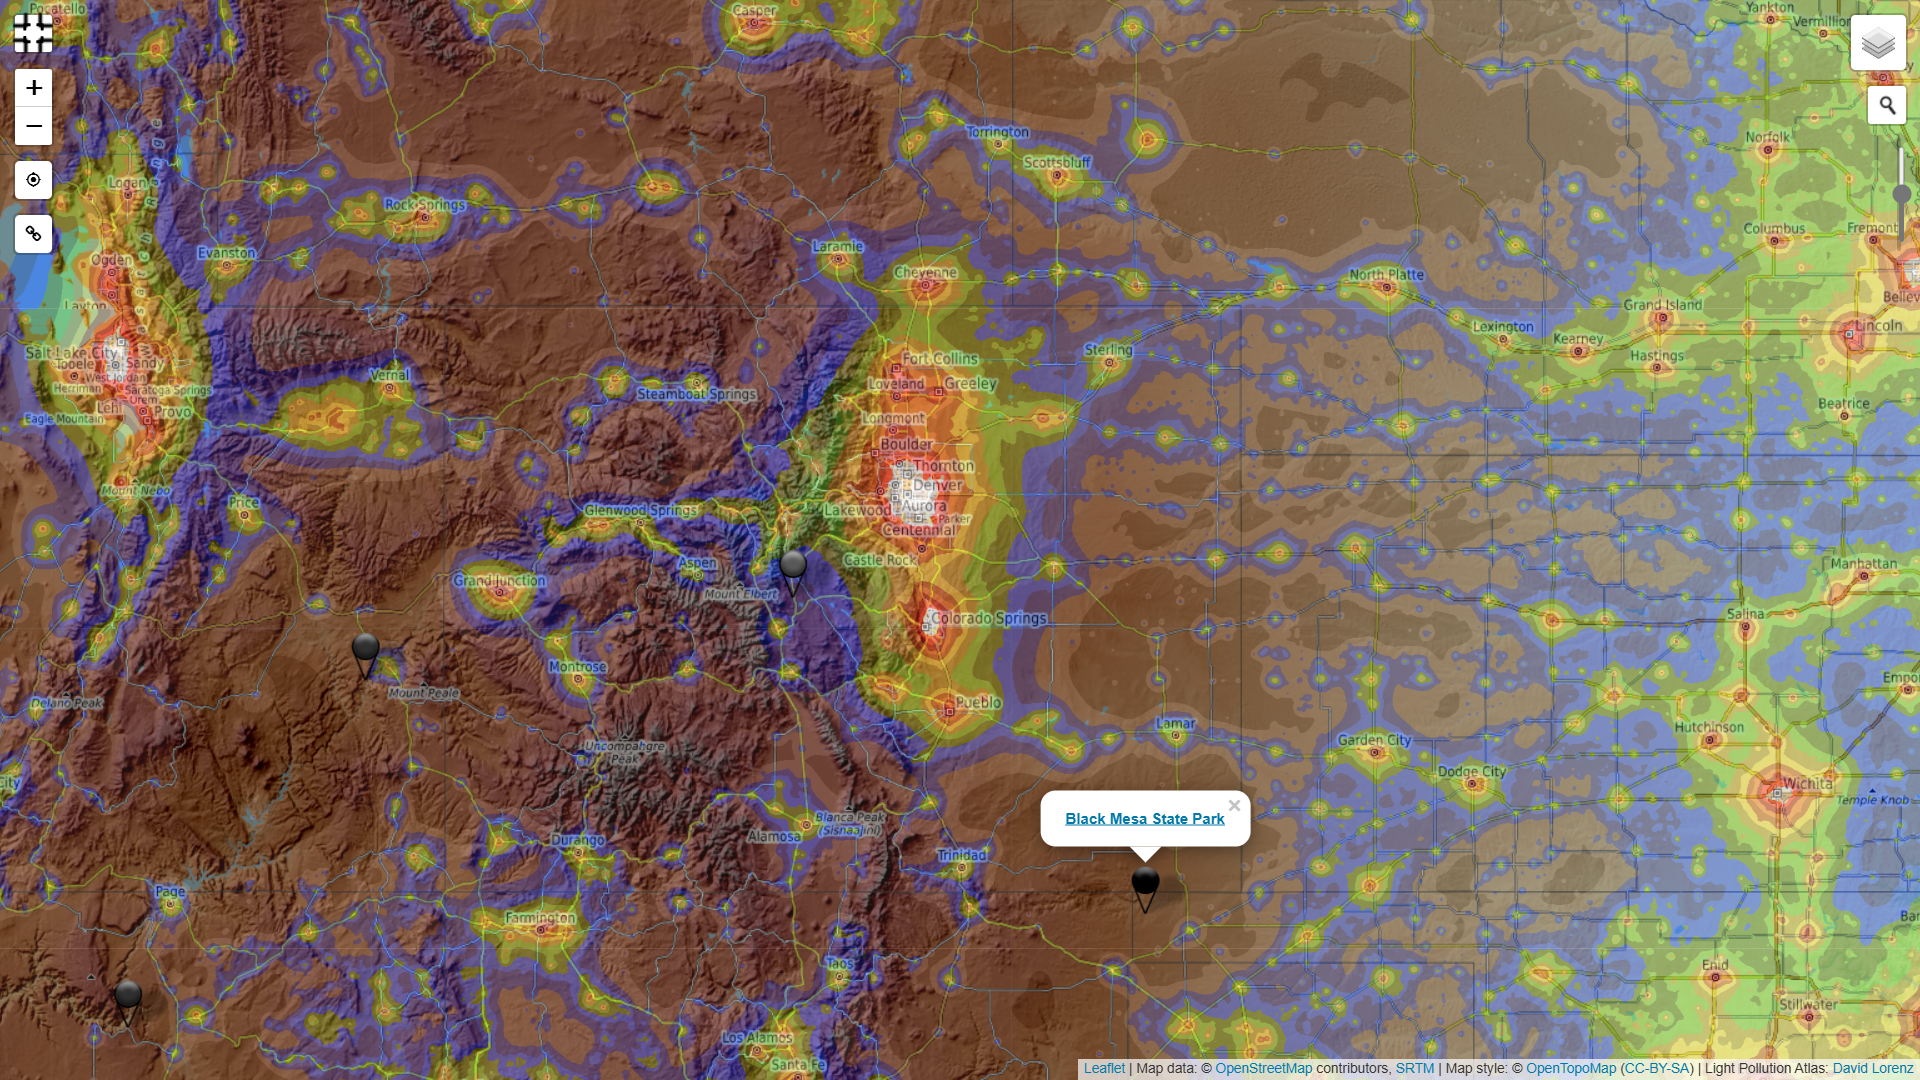
Even in the heart of a city, some spots are darker than others. Look for areas with natural or artificial barriers that can shield you from direct light sources. Parks, rooftops, or even parking garages can sometimes offer surprisingly good vantage points. Use apps like Dark Site Finder or Light Pollution Map to identify darker areas near you.
Dark Site Finder helps stargazers and astrophotographers find dark sky locations with minimal light pollution. It offers an interactive light pollution map that allows users to locate optimal spots for observing the night sky.
Timing is Everything
The time of your shoot can significantly impact your results. Generally, the later at night (or earlier in the morning) you shoot, the better. Many cities reduce street lighting after midnight, and there's usually less traffic, resulting in fewer car headlights to contend with.
Moon phases also play a crucial role. While the Moon itself can be a fantastic subject for urban astrophotography, its brightness can wash out fainter objects. For deep-sky imaging, plan your shoots around the new Moon phase when the sky is at its darkest.
Seasonal Considerations
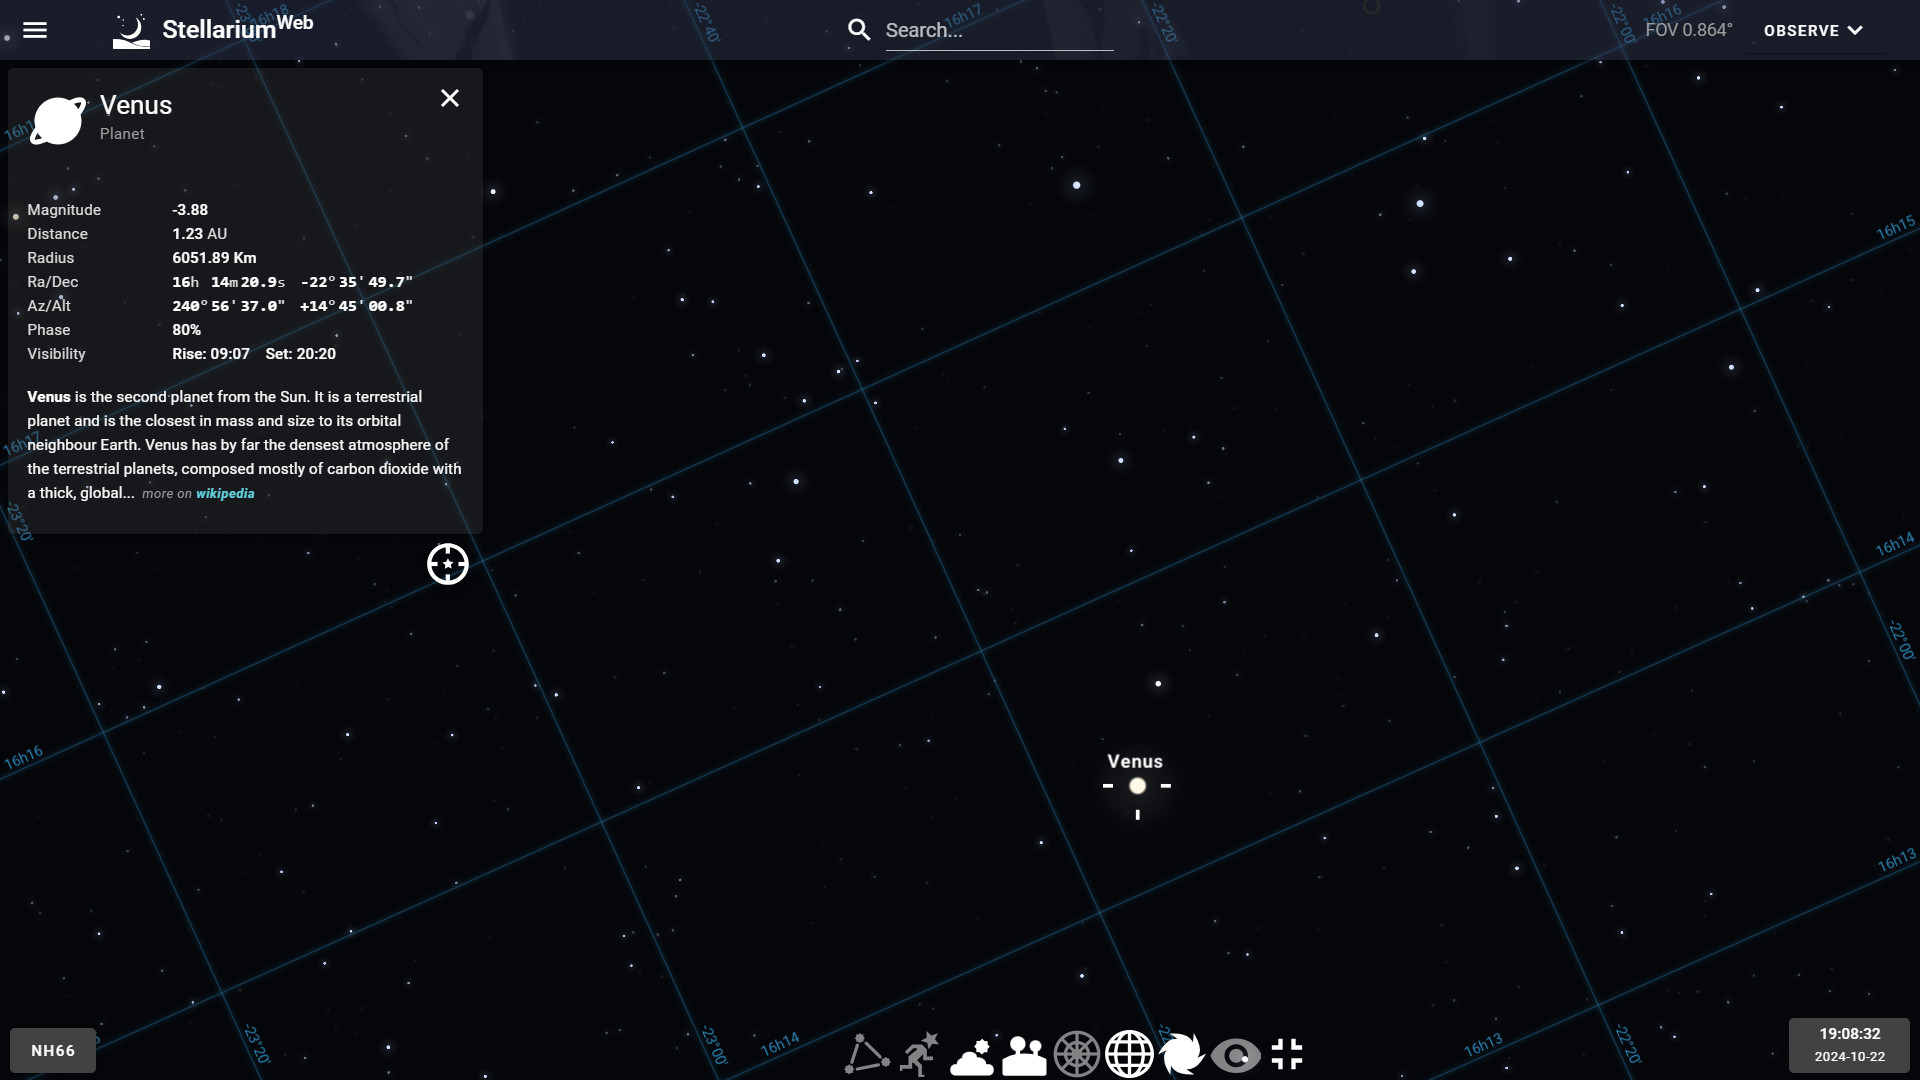
Remember that different celestial objects are visible at different times of the year. Use planetarium software like Stellarium to plan your shoots. This software can show you exactly where and when your desired targets will be visible from your location.
Stellarium Web is an online planetarium that allows users to explore the night sky directly from their browser. It provides real-time, interactive star maps, showcasing planets, constellations, and deep-sky objects based on the user’s location.
Weather Watch
Clear skies are crucial for astrophotography. Keep an eye on weather forecasts, paying particular attention to cloud cover and humidity levels. Websites like Clear Outside provide detailed astronomical forecasts that can be incredibly helpful.
Positioning and Setup
Once you've chosen your location and time, think about your exact shooting position. Try to position yourself so that the brightest light sources are behind you. If you're shooting a particular celestial object, plan your composition to avoid bright areas of the sky if possible.
Don't forget to arrive at your location early. This gives you time to set up your equipment, let your eyes adapt to the darkness, and maybe even enjoy the view before you start shooting.
Astrophotography Light Pollution Filters
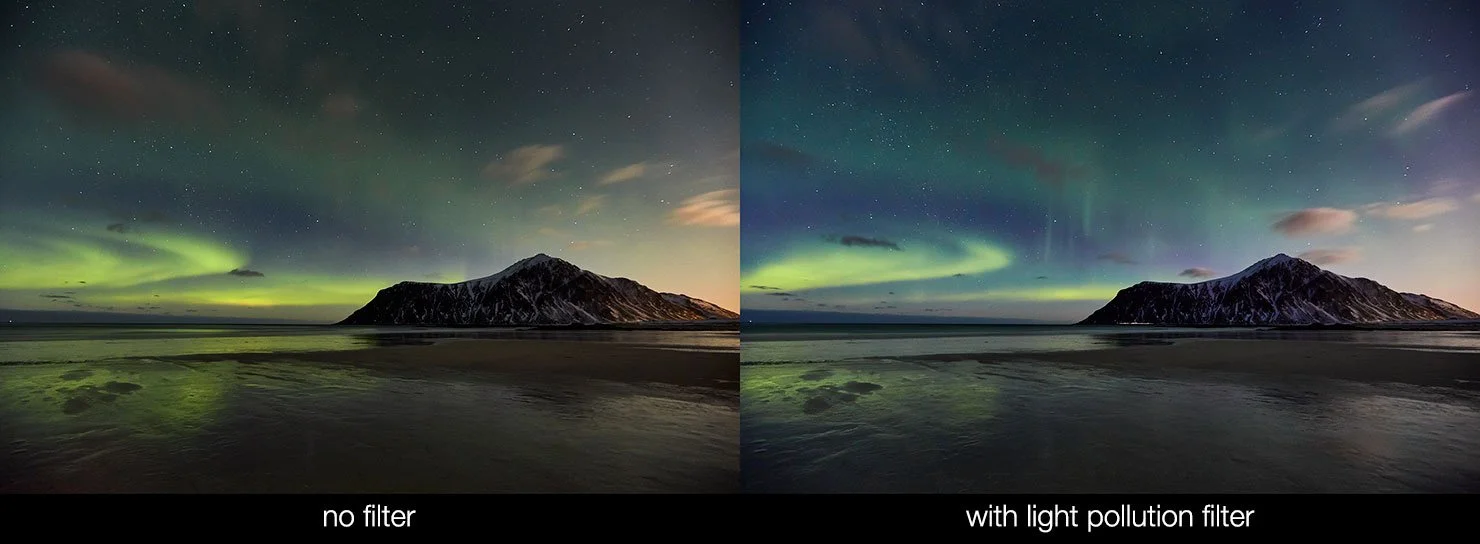
Perhaps the most crucial tool in your urban astrophotography arsenal is a quality light pollution filter. These filters are designed to block out specific wavelengths of light commonly emitted by streetlights and other artificial sources, while allowing the light from celestial objects to pass through.
There are several types to consider:
Broadband Light Pollution Filters: These are great all-rounders, reducing the overall effects of light pollution across a wide spectrum. They're particularly useful for capturing colorful wide-field images of the Milky Way or star clusters.
Narrowband Filters: For more specialized deep-sky imaging, narrowband filters are incredibly effective. These filters isolate specific wavelengths emitted by nebulae, allowing you to capture details that would otherwise be lost in light-polluted skies. Common narrowband filters include:
Ha (Hydrogen-alpha): Ideal for capturing the red hues in emission nebulae
OIII (Oxygen III): Great for blue-green nebulae details
SII (Sulfur II): Captures red wavelengths different from Ha
When choosing an astrophotography light pollution filter, consider your specific imaging targets and the predominant type of lighting in your area.
This Optolong filter kit available online includes a SII, H-Alpha, and OIII narrowband filter, each with a 3nm bandwidth.
A kit like this enables astrophotographers to create Hubble-style images with vibrant details, optimized for monochrome imaging and post-processing.
Image courtesy of Paul Reiffer
Pro Tip: If you're not ready to commit to purchasing gear, consider renting. Our partners at Lensrentals.com offer a great selection of astrophotography equipment.
Use code TENSIX15 for a 15% discount on your rental.
How to Shoot Astrophotography in Light-Polluted Areas
Capturing stunning astrophotography in light-polluted areas requires a combination of technique, patience, and creativity. Here's a step-by-step guide to help you make the most of your urban night sky shoots:
Choose Your Target Wisely: Focus on capturing bright celestial objects that can stand out against the sky glow. The Moon, planets like Jupiter and Saturn, and bright star clusters or nebulae like the Orion Nebula (M42) and the Pleiades are excellent choices. These objects can withstand the effects of light pollution better than fainter deep-sky objects.
Optimize Your Camera Settings:
Use manual mode for full control over your exposure.
Set your lens to its widest aperture (lowest f-number) to gather as much light as possible.
Start with an ISO between 1600 and 3200. You might need to go higher in heavily light-polluted areas, but be mindful of increasing noise.
Use longer exposure times, typically between 15-30 seconds for wide-angle shots. If you're using a star tracker, you can extend this to minutes for deep-sky objects.
Focus Carefully: Achieving sharp focus can be challenging in low-contrast, light-polluted skies. Use your camera's live view mode, zoomed in on a bright star or distant light, to manually focus. Use the focus peaking feature which can be extremely helpful.
Employ the Rule of 500: To avoid star trails in untracked shots, use the Rule of 500. Divide 500 by your lens's focal length to get the longest exposure time (in seconds) before stars start to trail. For example, with a 24mm lens: 500 ÷ 24 = 20.8 seconds.
Take Multiple Exposures: Instead of relying on a single long exposure, take multiple shorter exposures and stack them later in post-processing. This technique, known as image stacking or focus stacking, helps to improve the signal-to-noise ratio, revealing more detail and color in your final image.
Use Calibration Frames: To further improve image quality, capture dark frames (same settings as your light frames but with the lens cap on), bias frames (shortest possible exposure with the lens cap on), and flat frames (evenly illuminated white or gray field). These help correct for various types of noise and vignetting.
Experiment with Different Filters: As mentioned earlier, astrophotography light pollution filters can be a game-changer in urban settings. Experiment with different types to see which works best for your specific conditions and targets.
Removing Light Pollution in Post-Processing
With the right techniques, you can significantly reduce the effects of light pollution and bring out the hidden details in your night sky images. Let's explore some essential post-processing steps to elevate your urban astrophotography:
Start with RAW Files: Always shoot in RAW format. RAW files contain much more data than JPEGs, giving you greater flexibility in post-processing, especially when dealing with the high dynamic range typical of urban night scenes.
Basic Adjustments: Begin with basic adjustments in your preferred editing software (like Adobe Lightroom or Capture One):
Adjust the white balance to neutralize any color casts from artificial lighting
Reduce highlights and boost shadows to balance the exposure
Increase contrast to help stars and celestial objects stand out
Carefully adjust the black point to deepen the sky without losing shadow details
Gradient Filters: Use gradient filters to target light pollution glow, which often appears stronger near the horizon. Apply a graduated filter with reduced exposure and increased contrast to darken the sky gradually.
Color Correction: Light pollution often introduces unwanted color casts. Use the HSL (Hue, Saturation, Luminance) panel to selectively adjust colors. Reducing the saturation and luminance of orange and yellow can help neutralize sodium vapor lighting effects.
Noise Reduction: High ISO shots in urban environments often result in significant noise. Apply careful noise reduction, balancing between noise removal and detail preservation. Many astrophotographers prefer to apply noise reduction selectively to the sky and not the foreground.
Image Stacking: If you've taken multiple exposures, use stacking software like DeepSkyStacker or Sequator to combine your images. This process significantly improves the signal-to-noise ratio, revealing fainter details and reducing the impact of light pollution.
Advanced Techniques: For more control, consider using advanced tools like PixInsight or Photoshop:
Use the "Screen" blending mode to layer multiple exposures
Apply selective color adjustments with masks
Selective Adjustments: Use adjustment brushes or masks to apply changes selectively. This allows you to treat the sky and foreground elements differently.
Remember, the goal is to reveal the beauty of the night sky while maintaining a natural look. It's easy to over-process astrophotography, so step away from your edit periodically and come back with fresh eyes.
Pro Tip: Save time when post-processing by downloading these free Lightroom presets.
Additional Resources
To further your journey in urban astrophotography, here are some valuable resources to explore:
Useful Websites and Apps:
Stellarium (free planetarium software)
Clear Outside (astronomical weather forecasts)
Photopills (planning app for astrophotography)
Online Communities:
Workshops:
Bonus Content:
Remember, the best resource is often your own experience. Keep shooting, keep learning, and don't hesitate to share your experiences with the astrophotography community. Your unique perspective from your urban environment can inspire and educate others on their own cosmic photography journeys.
Clear skies and happy shooting!
FAQ
Q: How does an astrophotography light pollution filter work?
A: Astrophotography light pollution filters selectively block wavelengths commonly emitted by artificial light sources while allowing celestial light to pass through.
Q: What's the best ISO setting for shooting astrophotography in light-polluted areas?
A: In light-polluted areas, start with ISO 1600-3200 and adjust based on your specific camera's performance and the level of light pollution.
Q: How can I effectively remove light pollution in post-processing?
A: Use a combination of gradient filters, selective color adjustments, and careful manipulation of contrast and black point to neutralize light pollution effects in post-processing.
Q: What's the advantage of using narrowband filters for urban astrophotography?
A: Narrowband filters isolate specific wavelengths emitted by nebulae, allowing you to capture details that would otherwise be lost in light-polluted skies.
Q: How does image stacking help in shooting astrophotography in light-polluted areas?
A: Image stacking combines multiple exposures to improve the signal-to-noise ratio, revealing more detail and reducing the impact of light pollution on the final image.


