A Brief Guide to the Art of Fall Landscape Photography
Table of Contents
1. TIMING IS EVERYTHINGCapturing peak fall colors and ideal conditions |
2. GEARING UPEssential equipment for fall photography |
3. PHOTOGRAPHY TIPSTechniques for capturing autumn's essence |
4. CAMERA SETTINGSOptimal settings for fall landscapes |
5. COLOR GRADINGEnhancing autumn's palette in post-processing |
6. FAQAnswers to common questions about fall photography |
As the leaves begin to turn and the air grows crisp, photographers around the world gear up for one of the most visually stunning seasons: fall. There's something magical about capturing the vibrant hues of autumn, from the fiery reds to the warm golds that paint our landscapes. Autumn landscape photography offers a unique opportunity to create breathtaking images that evoke the essence of the season.
But here's the thing – while fall provides an incredible canvas, mastering fall landscape photography is about more than just pointing your camera at colorful trees. It's about understanding light, composition, and the technical aspects of your gear to truly bring out the beauty of the season.
As someone who's spent countless autumn days with a camera in hand, I've learned that autumn landscape photography is both an art and a science. It requires creativity to envision unique compositions and technical know-how to translate that vision into a striking image. Whether you're a seasoned pro or just starting out, this guide will help you elevate your fall photography game.
So grab your camera, pack a thermos of hot apple cider, and let's embark on a journey to capture the fleeting beauty of fall.
Timing is Everything: Capturing Peak Fall Colors
When it comes to fall landscape photography, timing can make or break your shot. The vibrant reds, oranges, and golds we associate with autumn don't last forever, and catching them at their peak can be tricky. But don't worry – I've got some tips to help you nail that perfect timing.
The Foliage Forecast: Your New Best Friend
First things first: bookmark those fall foliage forecasts. Many state tourism boards, parks, and even dedicated apps provide updates on leaf color progression. These are gold mines of information for photographers. I remember once driving three hours to a location, only to find I was a week late for peak color. Don't make the same mistake I did!
Explore Fall tracks the progression of fall foliage across the U.S. It offers a real-time, daily-updated fall foliage map.
Beyond the Peak: Early and Late Fall Magic
While catching the peak is great, don't overlook the beauty of early and late fall. Early fall, with its first hints of color against a predominantly green landscape, can create stunning contrasts. Late fall, with bare trees and perhaps a dusting of early snow, offers a uniquely moody atmosphere that's perfect for dramatic landscapes.
The Elevation Game
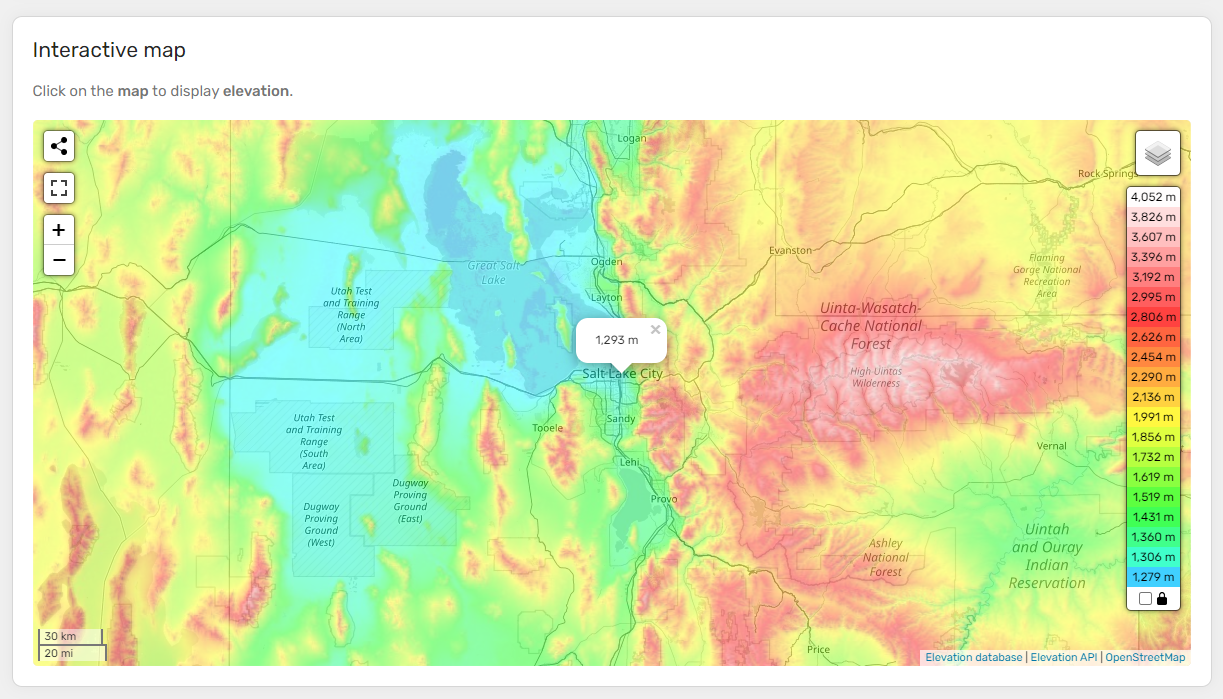
Here's a cool trick I've learned over the years: pay attention to elevation. Higher elevations tend to see color changes earlier than lower areas. So if you're planning a shoot in a mountainous region, start with the peaks and work your way down as the season progresses. It's like getting multiple peak color periods in one season!
Topographic Map offers interactive maps that display detailed elevation data for locations around the world, including contours, and geographical landmarks.
The Golden (Hour) Rule
Remember, the time of day matters just as much as the time of season. The soft, warm light of golden hour (just after sunrise or before sunset) can transform an ordinary autumn scene into something truly magical. I often scout locations during the day and return during golden hour for the actual shoot.
Weather Watch
Keep an eye on the weather forecast too. Overcast days can actually be great for fall photography, as the soft, diffused light helps saturate colors. And if you're lucky enough to catch some mist or fog? That's the jackpot for creating ethereal autumn scenes.
Astrospheric offers users information on cloud cover, seeing conditions, transparency forecasts,as wind speeds, temperature, humidity, and the probability of rain or snow.
Plan, But Be Flexible
Lastly, while planning is crucial, be prepared to adapt. Nature doesn't always follow our schedules. I always build some flexibility into my fall shooting plans. If the colors aren't quite there yet, maybe I'll focus on wider landscapes or water features. If I've missed peak, I might switch to capturing the textures of fallen leaves.
Remember, the best time for fall foliage photography is when you're out there with your camera. Each day in autumn offers unique opportunities – it's up to us as photographers to find and capture them.
Gearing Up: Essential Equipment for Fall Photography
When it comes to fall landscape photography, having the right gear can make a world of difference. But don't worry - you don't need to break the bank to capture stunning autumn scenes. Let's break down the essential equipment that will help you make the most of the fall colors.
Cameras
While any camera can capture fall scenes, here are a couple of options I've found particularly useful:
Mirrorless Cameras: I'm a big fan of mirrorless systems for landscape photography. They're lightweight, which is a blessing when you're hiking to that perfect vista. The Canon EOS R10 or EOS RP are great options if you're just starting out or looking to upgrade. They're weather-sealed (perfect for those misty fall mornings) and perform well in low-light conditions.
Full-Frame DSLRs: If you prefer the traditional DSLR route, a full-frame camera like the Nikon D850 or Canon 5D series can produce stunning fall landscapes with excellent dynamic range.
Remember, the best camera is the one you have with you.
Lenses
Your lens choice can dramatically affect your fall photography. Here's what I recommend:
Wide-Angle Lens: A must-have for those sweeping autumn vistas. Something like the Canon RF 24mm F1.8 MACRO IS STM is versatile, allowing you to capture wide landscapes and close-up details.
Telephoto Lens: Don't overlook the power of a good telephoto. The Canon RF 100-400mm F5.6-8 IS USM can help you isolate pockets of color in distant hillsides or capture wildlife amid the fall foliage.
Standard Zoom: A 24-70mm lens is a great all-rounder for fall photography. It's versatile enough to capture both wide scenes and closer details.
Tripods
A sturdy tripod is non-negotiable for fall landscape photography. It allows you to:
Use slower shutter speeds in low light conditions
Capture tack-sharp images even in windy conditions
Experiment with long exposures (think silky smooth waterfalls surrounded by autumn colors)
Look for something lightweight yet stable. Carbon fiber tripods are great if your budget allows, but there are plenty of affordable aluminum options that do the job well.
Filters
A few key filters can elevate your fall photography:
Polarizing Filter: Help reduce reflections, saturates colors, and can make those autumn skies pop. Just be careful not to over-polarize, as it can make skies look unnaturally dark.
Neutral Density (ND) Filters: Great for long exposures, allowing you to blur moving water or clouds even in bright daylight.
Graduated ND Filters: Help balance exposure between bright skies and darker foregrounds, a common challenge in fall landscape photography.
Accessories
Don't forget these handy accessories:
Extra Batteries and Memory Cards: Fall colors wait for no one, so always be prepared.
Lens Cleaning Kit: Misty fall mornings can leave water droplets on your lens.
Remote Shutter Release: Useful for long exposures to avoid camera shake.
Rain Cover: Autumn weather can be unpredictable. Protect your gear!
Pro Tip: If you're not ready to commit to purchasing gear, consider renting. Our partners at Lensrentals.com offer a great selection of astrophotography equipment.
Use code TENSIX15 for a 15% discount on your rental.
Capturing Autumn's Essence: Fall Landscape Photography Tips
Now that we've covered timing, let's dive into some specific techniques to elevate your fall landscape photography. These tips will help you capture the essence of autumn and create images that truly stand out.
Embrace the Wide Angle
Fall landscapes often benefit from a wide-angle perspective. It allows you to capture the sweeping vistas of colorful foliage that make autumn so spectacular. I love using my 16-35mm lens to encompass vast swathes of color-changing trees against dramatic skies and landscape. But remember, wide doesn't mean you should neglect your foreground - look for interesting elements like fallen leaves or a winding path to lead the viewer's eye into the scene.
Get Up Close and Personal
While wide shots are great, don't forget to zoom in on the details. Fall is full of intricate textures and patterns. Try using a macro lens to capture the delicate veins of a colorful leaf or the texture of tree bark surrounded by autumn hues or an acorn lying undisturbed on the forest floor! These close-up shots can be just as impactful as grand landscapes.
Play with Perspective
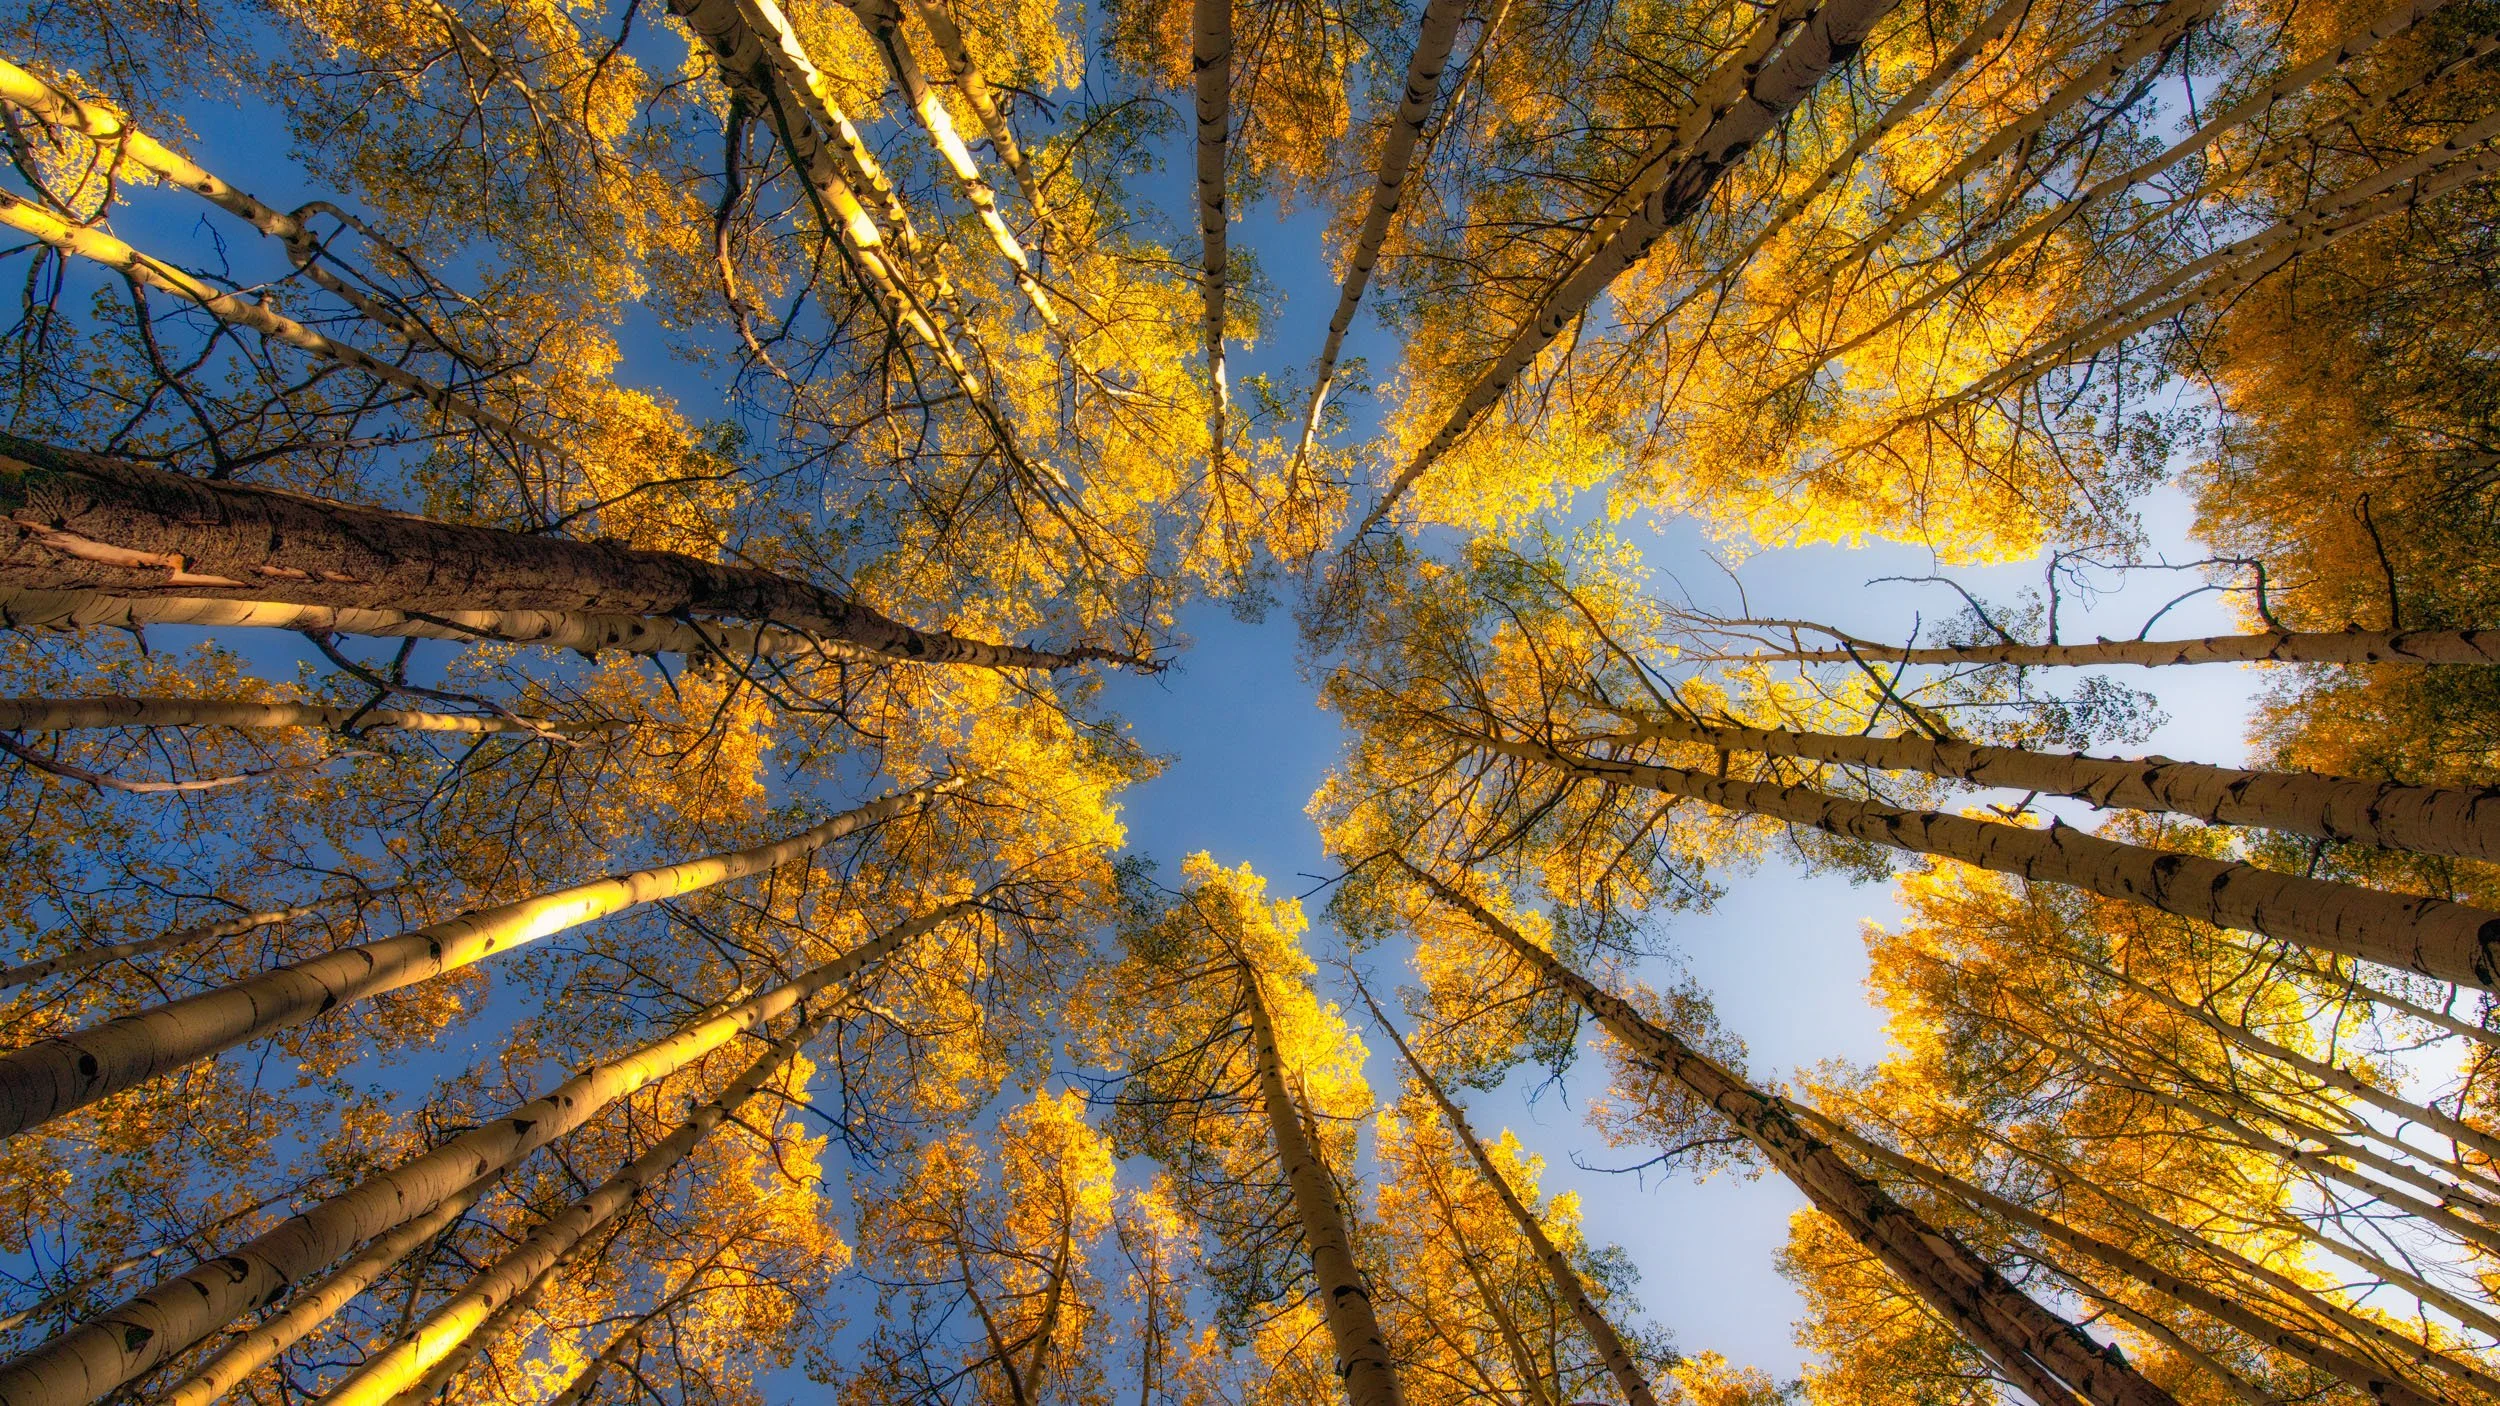
Don't be afraid to get low or climb high for unique perspectives. I once lay flat on my back in a carpet of fallen leaves to capture an upward view of golden trees against a blue sky. Conversely, finding an elevated viewpoint can give you a stunning overview of a colorful forest canopy.
Incorporate Water
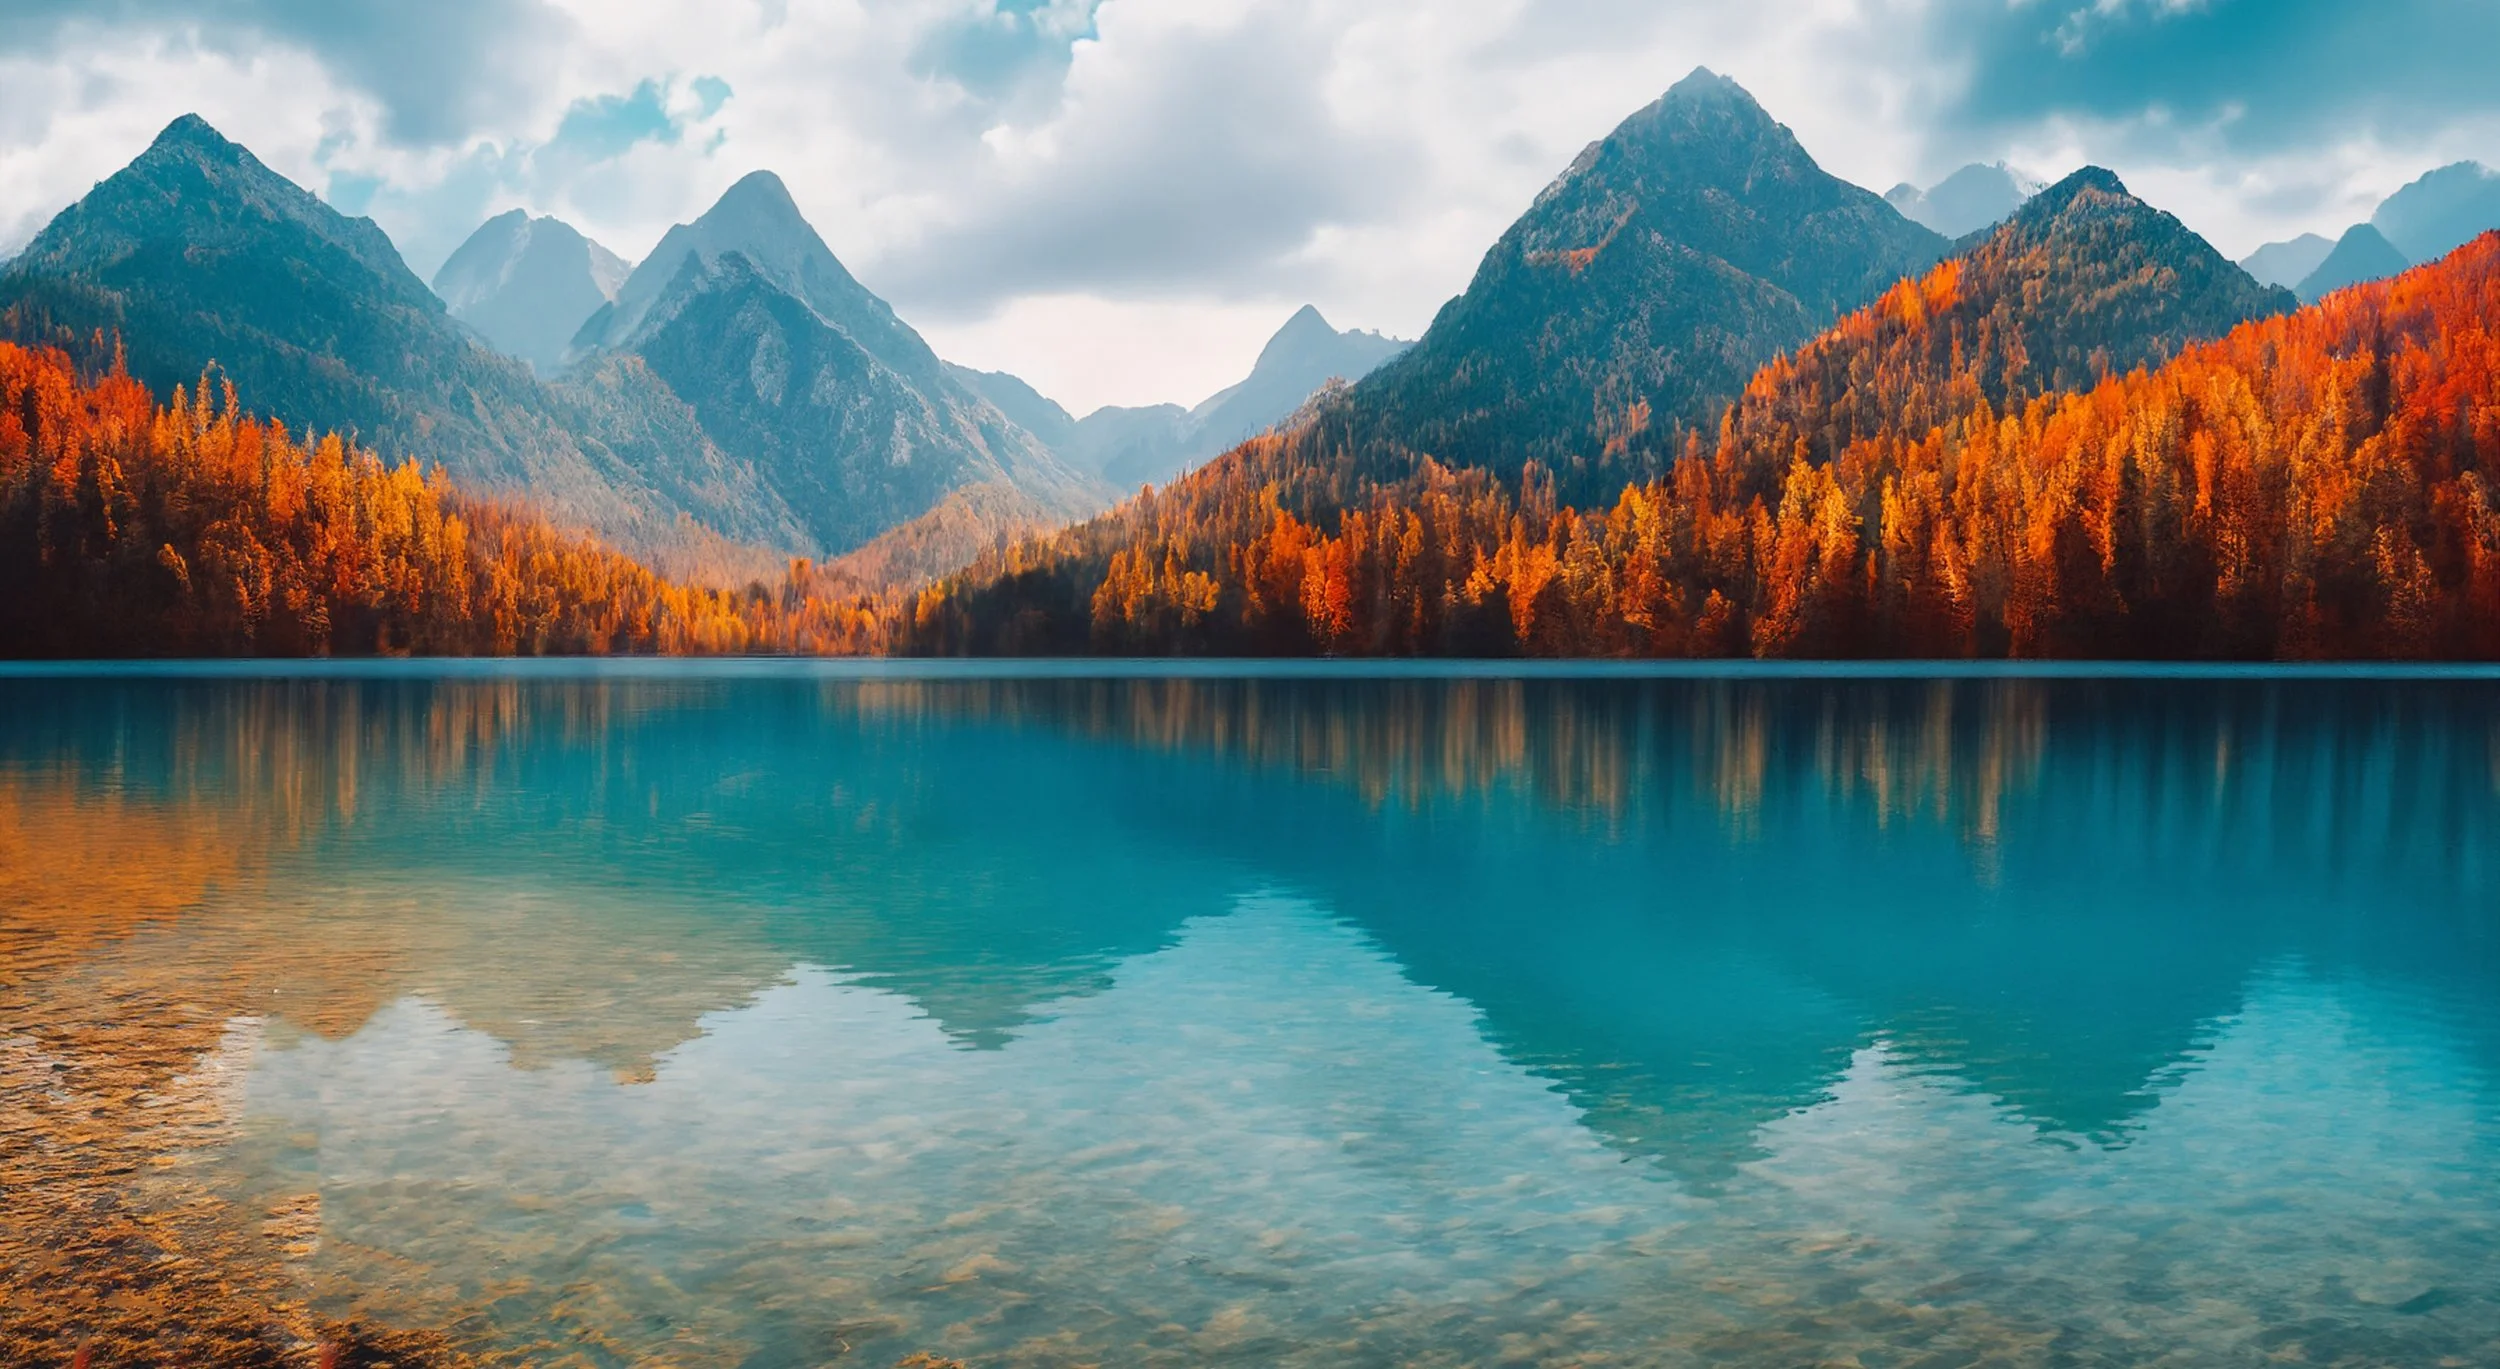
Water features can add an extra dimension to your fall landscapes. Look for opportunities to capture reflections in lakes or streams. The still waters of an early morning can create perfect mirror images of fall foliage. And don't overlook the potential of moving water - a long exposure of a waterfall surrounded by autumn colors can be breathtaking.
Use Backlighting to Your Advantage
Backlighting can transform fall foliage. When the sun shines through leaves, it can make them appear to glow from within. This effect is particularly stunning in the early morning or late afternoon when the sun is low. Just be careful of lens flare - sometimes it can add to the image, but other times it can be distracting.
Don't Shy Away from Overcast Days
While golden hour light is beautiful, don't pack up your camera on overcast days. Cloudy skies can act like a giant softbox, providing even illumination that really makes fall colors pop. Plus, the moody atmosphere of a gray day can add a different kind of drama to your fall landscapes.
Look for Contrasts
Fall is all about color, so look for contrasts that make those colors stand out. This could be the vibrant reds and oranges of leaves against a deep blue sky, or perhaps the warm tones of autumn foliage contrasting with the cool blues and greens of a mountain lake.
Include People or Wildlife for Scale
Sometimes, including a person or animal in your fall landscape can provide a sense of scale and add interest to the image. It doesn't have to be prominent - even a small figure on a distant trail can draw the viewer's eye and tell a story within your landscape.
Remember, these fall landscape photography tips are just starting points. The real magic happens when you experiment and develop your own style. Don't be afraid to break the rules if it results in an image that speaks to you. After all, creativity is what makes photography so rewarding!
Dialing In: Camera Settings for Fall Landscapes
Getting your camera settings right can make a huge difference in capturing those vibrant autumn colors and dreamy landscapes. Don't worry if you're not a tech wizard - I'll break it down in simple terms.
Embrace Manual Mode
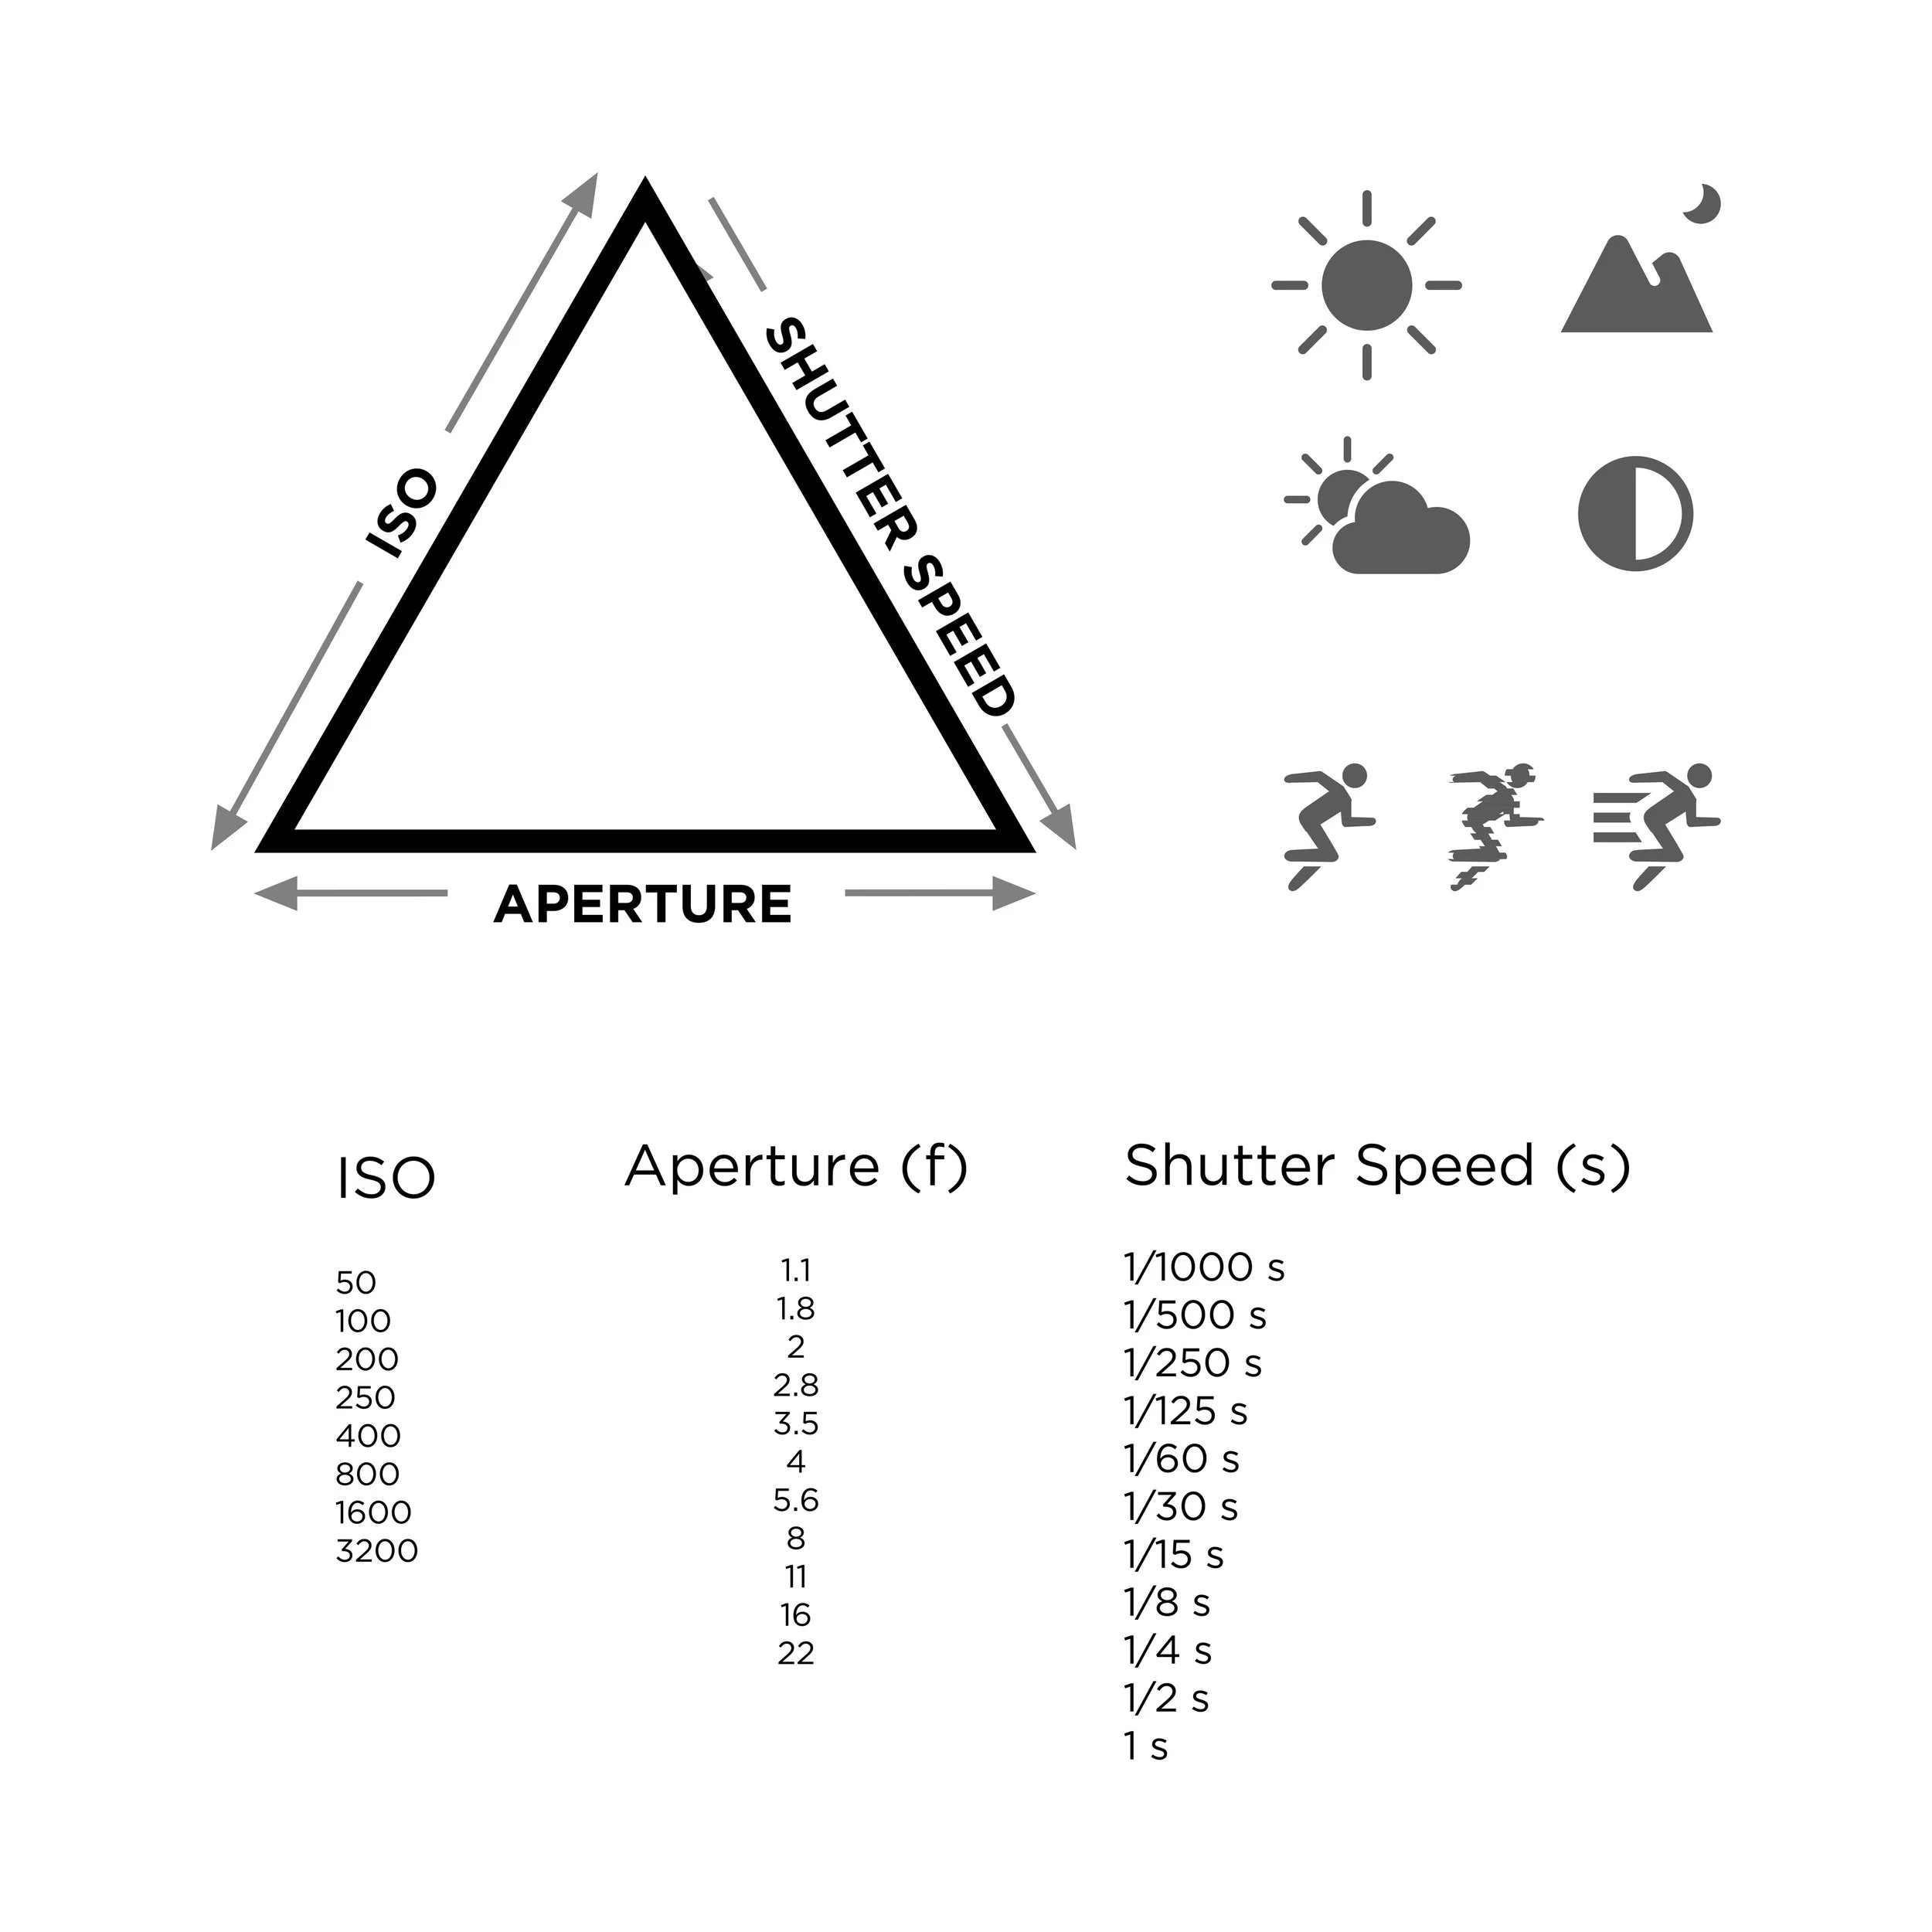
I know, I know - manual mode can be intimidating. But trust me, it's your best friend for fall landscape photography. It gives you full control over your exposure, which is crucial when dealing with the varied lighting conditions of autumn. Start with these base settings and adjust as needed:
Aperture: f/8 to f/11 for a good depth of field
ISO: 100 or lowest native ISO for the best image quality
Shutter Speed: Adjust based on the above to get a proper exposure
Remember to refer to the Exposure Triangle if you need guidance with adjusting these three settings.
Aperture: Finding the Sweet Spot
For most fall landscapes, you'll want a good depth of field to keep everything in focus. I usually start around f/8 to f/11. This range typically gives you sharp images from foreground to background. If you're shooting in low light or want to isolate a subject (like a single colorful tree), you might open up to f/5.6 or even wider.
ISO: Keep it Low
To capture all the fine details and textures of fall foliage, keep your ISO as low as possible. I usually stick to ISO 100 for landscapes. This minimizes noise and gives you the cleanest image possible. Only increase it if you absolutely need to in low light situations.
Shutter Speed: Stable or Creative
Your shutter speed will depend on your creative vision. For most static landscapes, you'll want to ensure your image is sharp. A good rule of thumb is to use a shutter speed that's the reciprocal of your focal length (e.g., 1/50 sec for a 50mm lens). But don't be afraid to go slower if you're on a tripod - which, by the way, I highly recommend for fall landscape photography.
Want to get creative? Try a longer exposure to blur moving elements like flowing water or swaying leaves. Just remember to use a tripod for those longer exposures!
White Balance: Warm It Up
Fall colors are warm, so don't be afraid to embrace that in your white balance settings. I often use the Cloudy or Shadow/Shade preset, even on sunny days, to enhance those golden tones. If you're shooting in RAW (which I highly recommend), you can always adjust this later without losing quality.
Exposure Compensation: Protect Those Highlights
Fall scenes often have a wide dynamic range, from bright skies to shadowy forest floors. I usually dial in about -0.3 to -0.7 exposure compensation to protect the highlights, especially in the colorful leaves. It's easier to bring up shadows in post-processing than to recover blown-out highlights.
Focus: Get It Sharp
For expansive landscapes, I typically use single-point autofocus, focusing about a third of the way into the scene. This usually ensures everything from foreground to background is sharp. If your camera has a live view mode, use focus peaking (if available) to nail critical focus. If you like a little extra challenge, you can also try focus stacking.
Bracketing: When in Doubt
If you're dealing with a particularly tricky lighting situation (like a bright sky and shadowy foreground), try exposure bracketing. Take multiple shots at different exposures - you can blend them later in post-processing for a perfectly exposed image.
Remember, these are starting points. The beauty of digital photography is that you can experiment freely. Don't be afraid to adjust these settings based on your specific scene and creative vision. With practice, adjusting these camera settings for fall landscapes will become second nature, allowing you to focus on capturing the breathtaking beauty of autumn.
Enhancing Autumn's Palette: Color Grading for Fall Photos
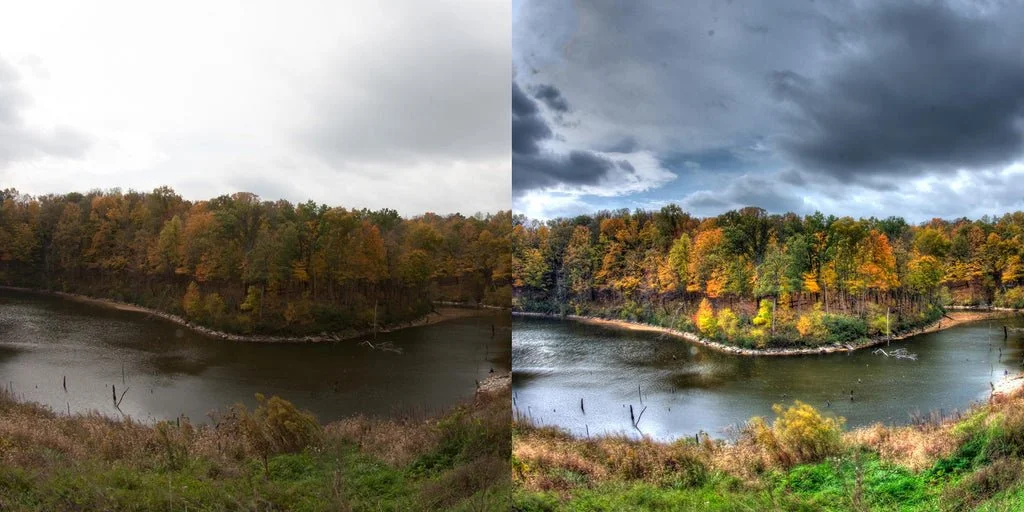
Capturing a great fall landscape is just the first step. The magic often continues in post-processing, where color grading can really make your autumn images pop. Don't worry if you're new to editing - I'll walk you through some simple yet effective techniques to enhance those fall colors.
Start with the Basics: White Balance and Exposure
Before diving into color grading, make sure your white balance and exposure are on point. Fall scenes often benefit from a slightly warmer white balance to enhance those golden tones. In terms of exposure, I often find that slightly underexposing in-camera and then bringing up the shadows in post can help preserve those rich autumn colors.
Boost Vibrance, Not Saturation
It's tempting to crank up the saturation slider, but this can quickly lead to unrealistic, oversaturated images. Instead, try using the Vibrance adjustment. It increases the intensity of muted colors while leaving already-saturated colors alone, resulting in a more natural-looking enhancement of fall hues.
Use the HSL Panel for Targeted Adjustments
The HSL (Hue, Saturation, Luminance) panel is your best friend for fall color grading. Here's how I typically use it:
Hue: Slightly shift oranges towards red and yellows towards orange for a warmer look.
Saturation: Boost oranges and yellows, but be careful not to overdo it.
Luminance: Sometimes lowering the luminance of blues can make the warm colors pop more.
Embrace Split Toning
Split toning can add depth to your fall images. Try adding a warm tone (orange or gold) to the highlights and a cool tone (blue or teal) to the shadows. This can create a beautiful contrast that enhances the autumn mood.
Use Graduated Filters for Skies
Often in fall landscapes, you want to enhance the sky separately from the foliage. Use a graduated filter to add warmth and decrease highlights in the sky. This can help balance the image and draw attention to the colorful foliage.
Don't Forget About Texture and Clarity
Fall landscapes are full of interesting textures - from leaf veins to tree bark. Judicious use of Texture and Clarity adjustments can really make these details pop. But remember, a little goes a long way!
Create a Mood with Tone Curves
The tone curve is a powerful tool for creating mood in your fall photos. Try creating a slight S-curve to add contrast, or lift the shadows for a more dreamy, faded look. Experiment with the RGB curves individually to fine-tune colors.
Use Local Adjustments
Not all areas of your image need the same treatment. Use adjustment brushes or radial filters to enhance specific areas. For example, you might want to boost the colors of a particular tree or add a subtle glow to backlit leaves.
Develop Your Own Style
While these tips are a great starting point, the best color grading is the one that matches your vision. Don't be afraid to experiment and develop your own unique style. Maybe you prefer moody, desaturated fall scenes, or perhaps you love bold, vibrant colors. There's no right or wrong - it's all about expressing your creative vision.
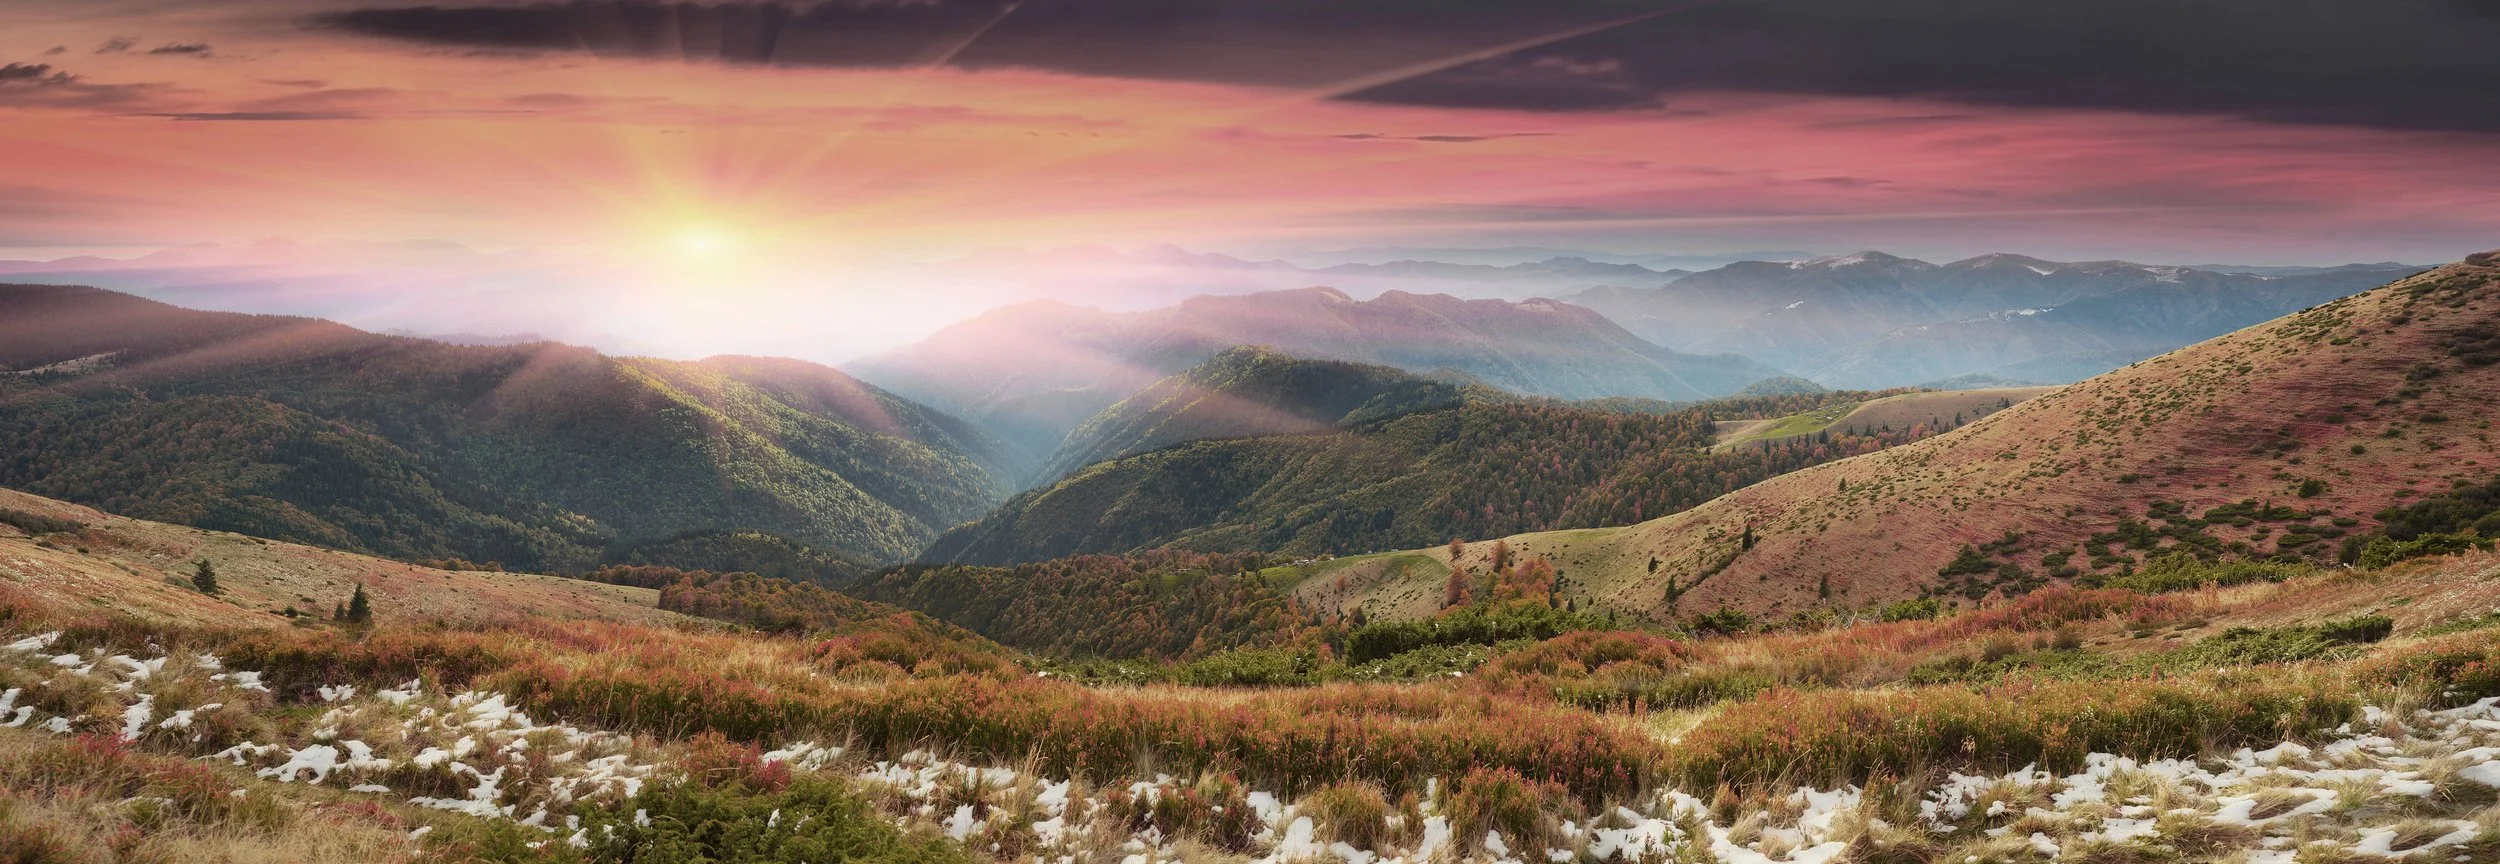
Original
The original, unedited image looks rather dull. The colors of the landscape and sky are muted and uninteresting.
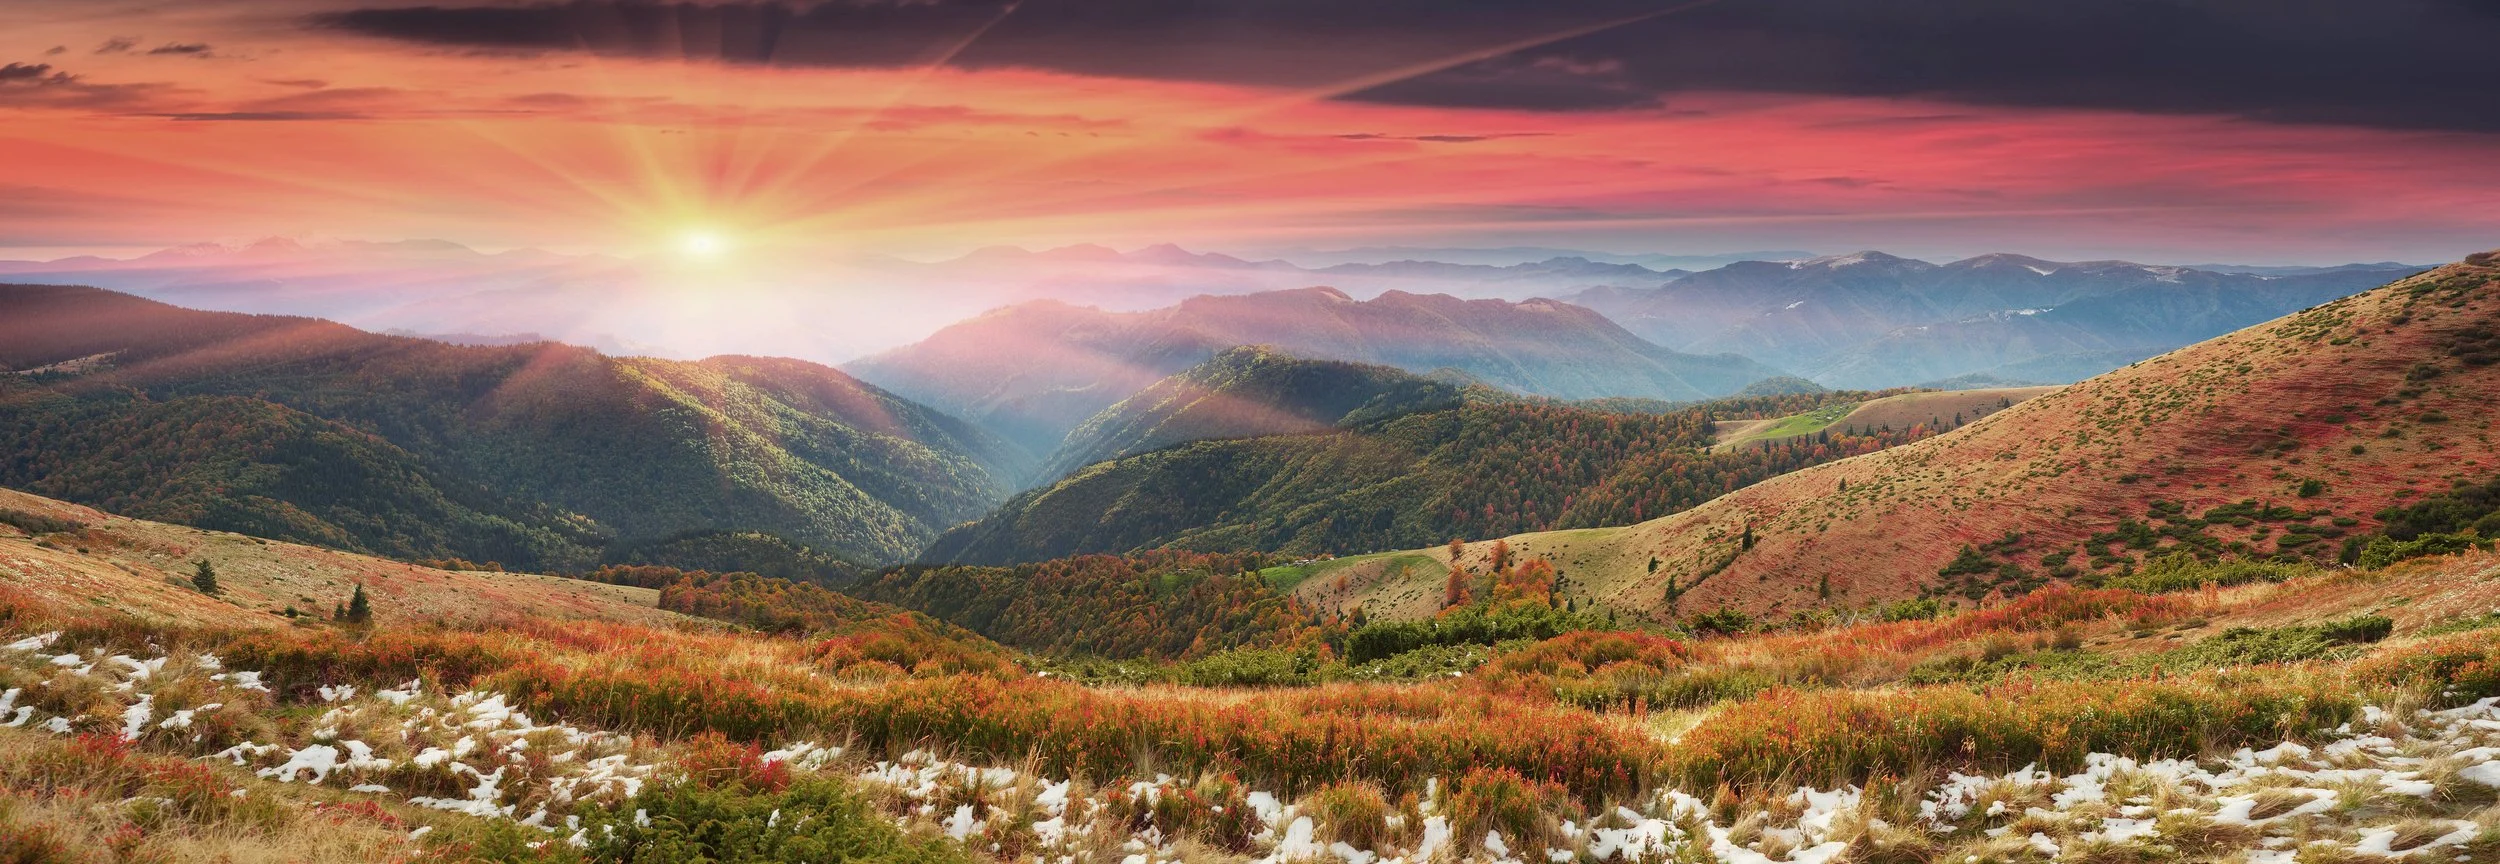
Slight tweaking
Simply making a few adjustments to the contrast, saturation, and highlights, we have a much nicer photograph. Notice how the image looks more crisp as the edges of the grass and the mountains clearly stand out.
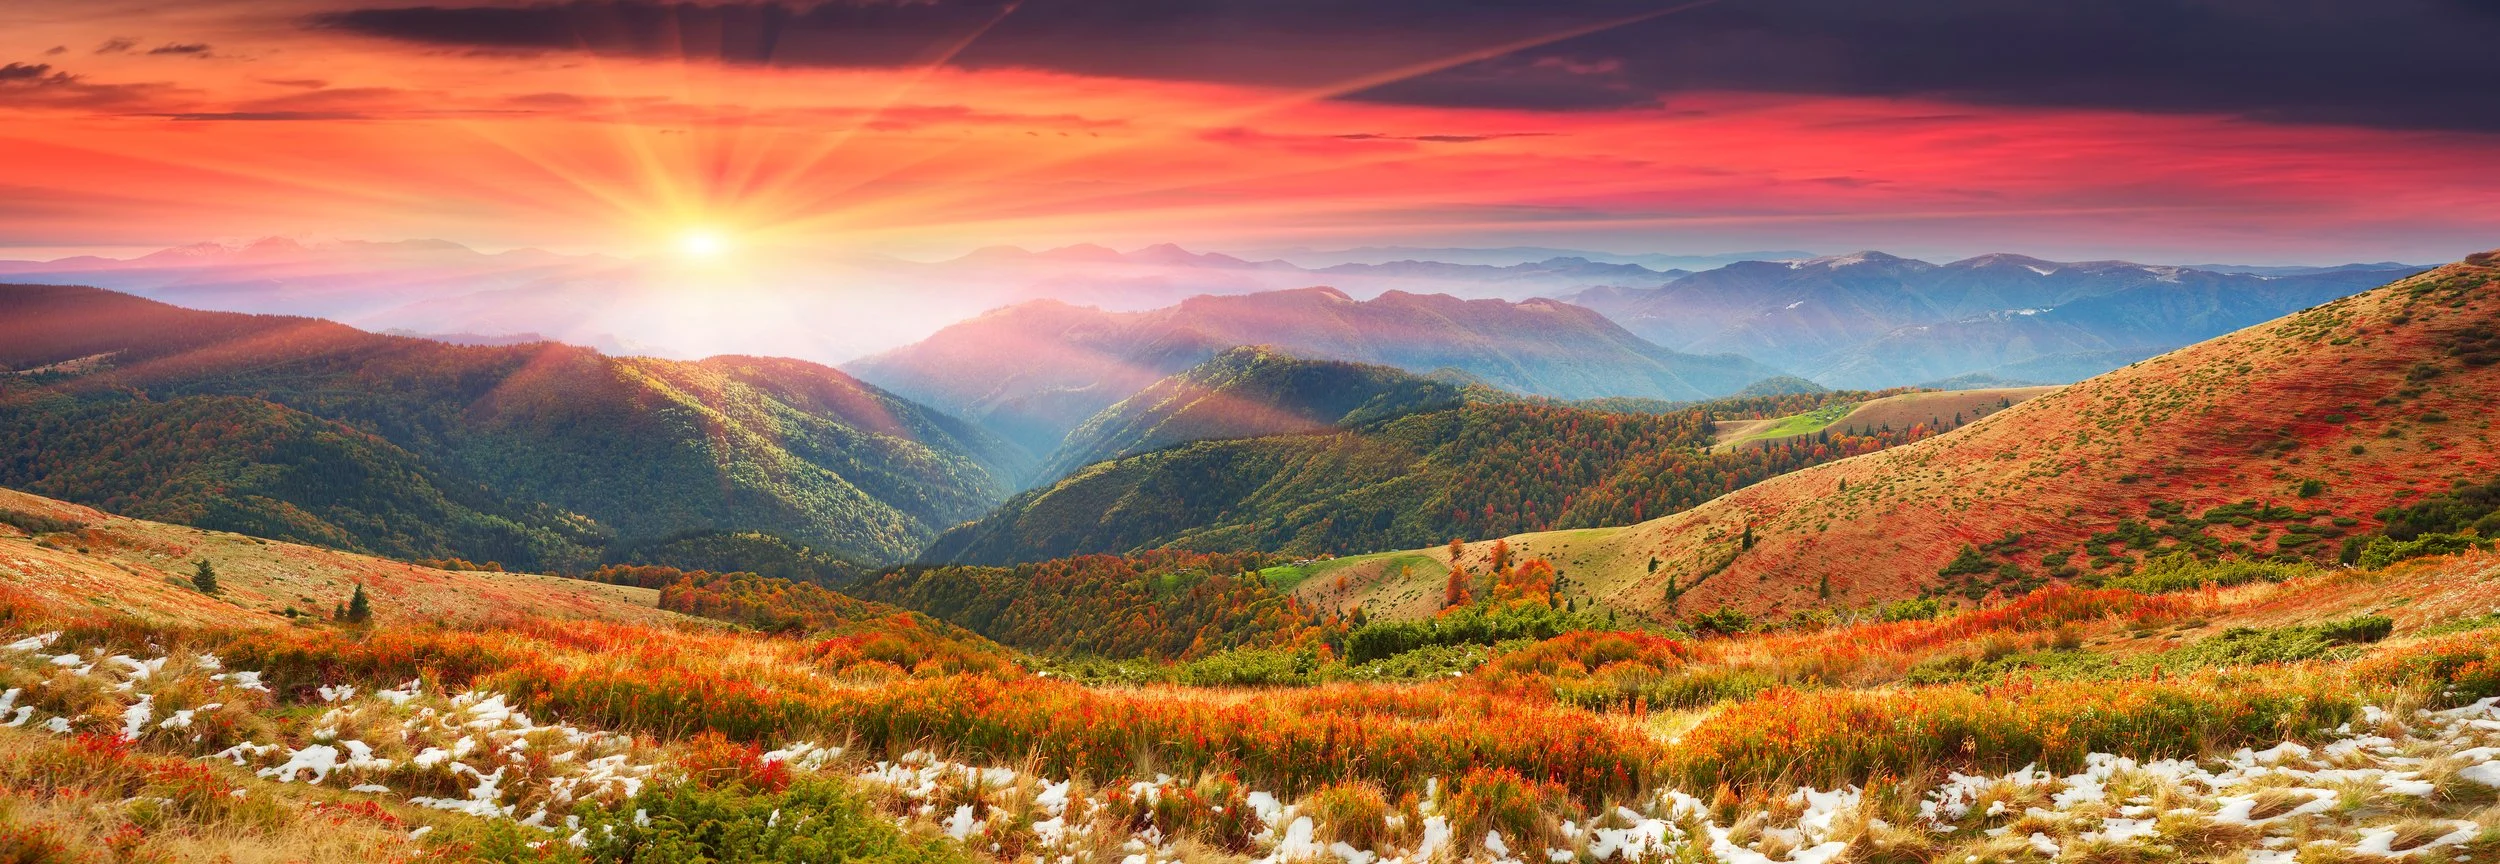
Too much tweaking
This is an example of overdoing it. The image looks unnatural. Some might even say it hurts to look at.
Create and Save Presets
Once you've found a color grading style you like, save it as a preset. This can be a great starting point for future fall photos, saving you time and helping you maintain a consistent style across your work.
Remember, color grading is an art, not a science. These techniques are meant to enhance the natural beauty you've captured, not completely transform it. The goal is to create images that evoke the feeling of being there in that perfect autumn moment.
Pro Tip: If you're unsure about your edits, step away from your computer for a while. When you come back with fresh eyes, you'll often have a better perspective on whether your color grading is enhancing or overpowering the natural beauty of the scene.
Also see: Night Sky Editing – The Basics
Conclusion
As we wrap up this short guide to fall landscape photography, I hope you're feeling inspired and equipped to capture the breathtaking beauty of autumn. From timing your shoots perfectly to mastering your camera settings and enhancing your images in post-processing, we've covered a lot of ground.
Remember, fall landscape photography is both a science and an art. The technical aspects - understanding your camera, choosing the right settings, and knowing how to enhance your images - are crucial. But equally important is developing your artistic eye, finding unique compositions, and creating images that evoke the essence of autumn.
Most importantly, remember to enjoy the process. Fall is a fleeting and beautiful season, and part of the joy of fall landscape photography is simply being out there, experiencing the crisp air, the rustle of leaves, and the warm glow of autumn light.
Happy shooting, and may your fall be filled with beautiful light and vibrant colors!
FAQs
Q: What’s the best camera for fall landscape photography?
A mirrorless camera like the Canon EOS R10 or full-frame DSLR such as the Nikon D850 offers excellent dynamic range and low-light performance, ideal for autumn conditions. Even a smartphone can work if used properly.
Q: Which lenses should I use for fall landscapes?
Wide-angle lens (e.g., 16-35mm) for sweeping vistas.
Telephoto lens (e.g., 100-400mm) to capture distant details.
Standard zoom (e.g., 24-70mm) for versatile shooting.
Q: How do I avoid blurry images in low light?
Use a tripod to stabilize your camera and set a slow shutter speed without sacrificing sharpness. A remote shutter release can further minimize camera shake.
Q: What filters should I use for fall photography?
Polarizing filter: Reduces reflections and enhances colors.
ND filters: Allow long exposures in bright daylight.
Graduated ND filters: Balance exposure between sky and land.
Q: How should I adjust camera settings for autumn photography?
Aperture: f/8 to f/11 for sharp landscapes.
ISO: Keep at 100 for minimal noise.
Shutter speed: Adjust based on available light; use a tripod for slower speeds.
Q: How can I make fall colors stand out?
Shoot during the golden hour for soft, warm light. On cloudy days, the diffused light can help saturate colors. Also, backlighting can enhance leaf colors.
Q: What’s the best way to capture reflections of fall foliage in water?
Use a polarizing filter to control reflections. Aim for calm water at dawn or dusk for the best reflections. Try different angles to balance reflection and landscape.
Q: How can I shoot long exposure fall scenes?
Use an ND filter to reduce light during the day and set a slow shutter speed (e.g., 1/2 sec or slower) to blur moving elements like waterfalls or leaves.
Q: How can I balance bright skies and dark foregrounds?
Use exposure bracketing or a graduated ND filter to capture multiple exposures, then merge in post-processing for a well-balanced image.
Q: What post-processing techniques work best for fall photos?
Adjust white balance to warmer tones, boost vibrance (not saturation), and use the HSL panel to fine-tune fall colors like orange, red, and yellow.

